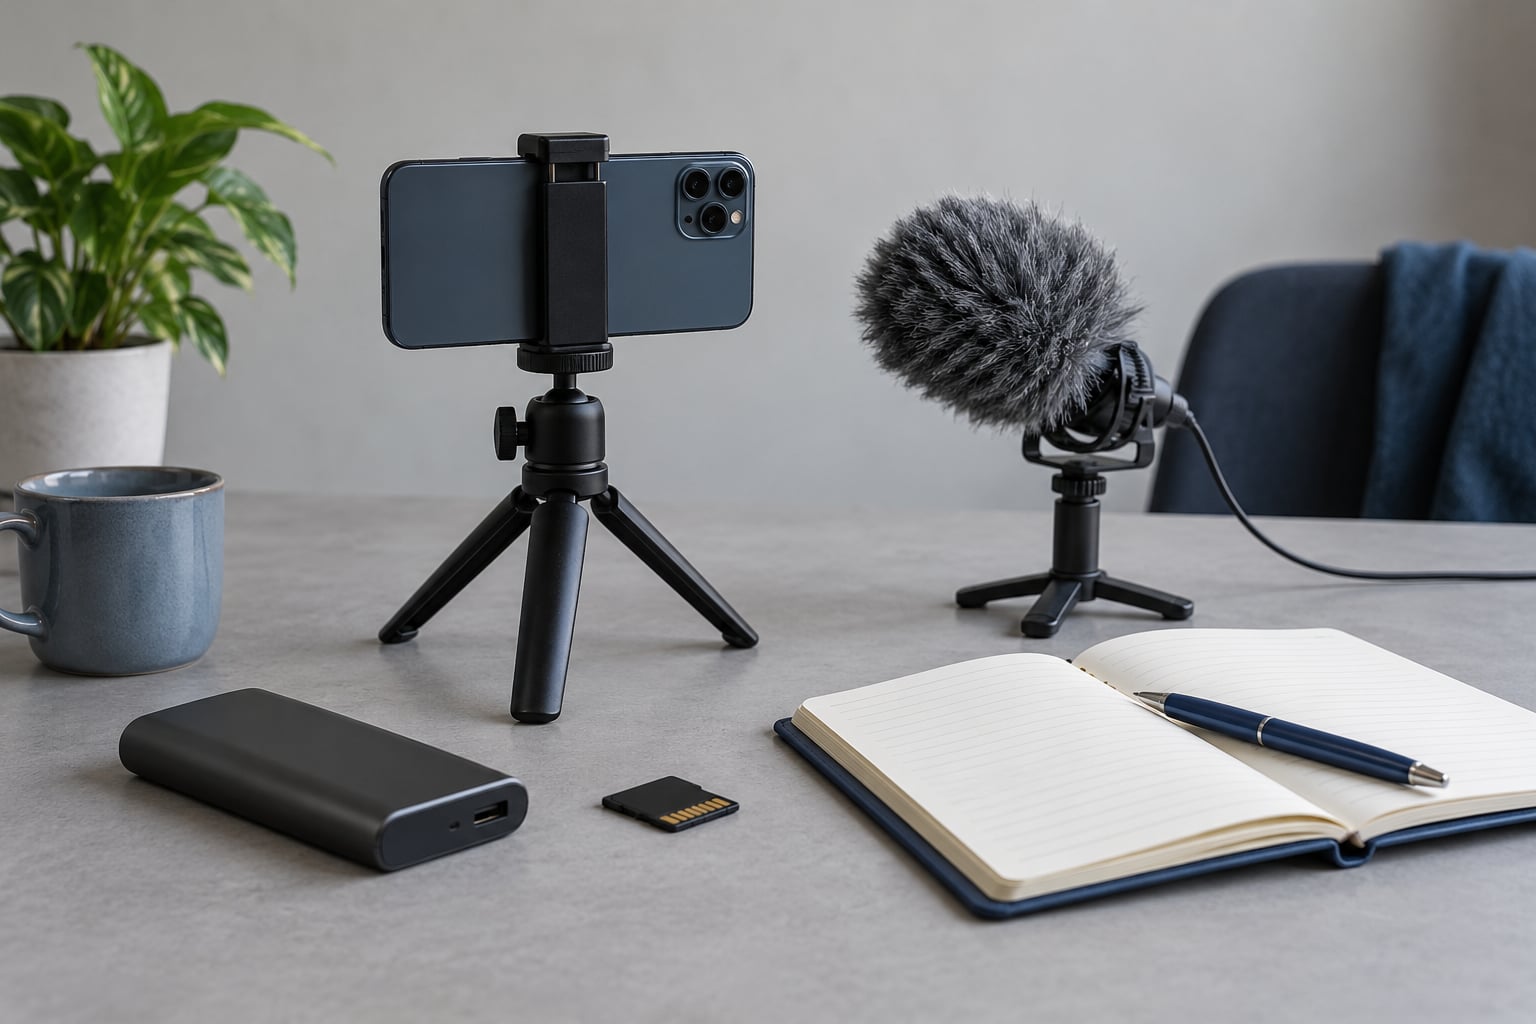
You shoot video on a phone for news by locking the camera settings before you record, bracing the handset instead of swinging it with your wrist, putting a directional microphone close to whoever is speaking, and backing the original file up twice before anyone touches an edit. It takes about ten minutes of prep and works on any phone from the last six or seven years, including the older Android handset already in your pocket.
Most unusable phone footage is not bad because the camera is weak. It is bad because the reporter zoomed in from across a street, recorded from five metres away, deleted the only copy after uploading it once, or published a clip without knowing when or where it was shot. Those four failures are fixable with technique, not hardware.
The 60-second pre-shoot checklist
- Charge the phone fully and pack a power bank.
- Free at least 30 GB of storage for 1080p video.
- Wipe the lens with a cloth before you shoot anything.
- Switch to airplane mode, then turn Wi-Fi back on for uploads only.
- Set 1080p at 50 or 60 fps, enable stabilization, lock exposure and focus.
- Record ten seconds of room sound and check it on headphones before you ask a single question.
Table of Contents
- What You Need
- Step-by-Step: How to Shoot Video on a Phone for News
- 1. Prepare the Phone and Reporting Plan
- 2. Set the Camera for News Footage
- 3. Frame Shots for Clarity and Accuracy
- 4. Record Clean Audio and Conduct the Interview
- 5. Capture Context, Labels, and Verification Clues
- 6. Review, Back Up, and Publish the Footage
- iPhone and Android: what actually differs
- What to do when there is no time to set up
- Common Mistakes
- Frequently Asked Questions
- Do I need a tripod to shoot steady news video on a phone?
- Should I shoot news video vertical or horizontal?
- Do I need an external microphone for phone news video?
- What frame rate and resolution should I shoot news video at?
- How do I get large video files off my phone in the field?
- Is it legal to record video at a protest or public event?
- Conclusion
What You Need
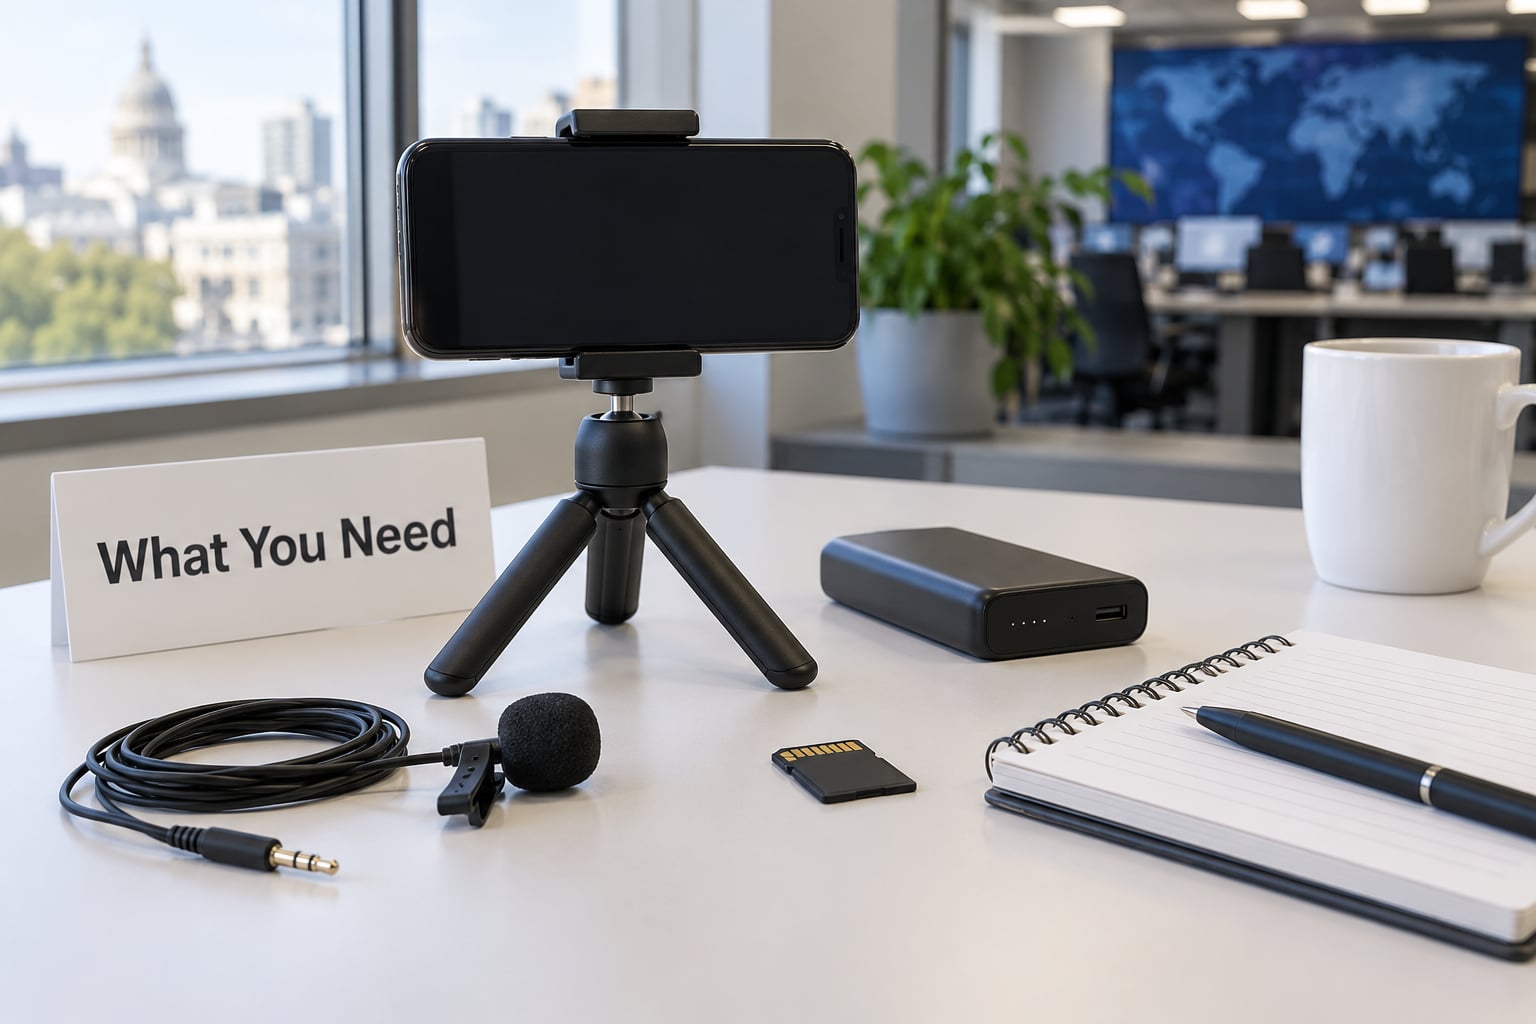
The essentials are cheaper than most people assume, and a working reporter can cover a full assignment with four things. A phone that charges, storage that does not fill mid-interview, something to hold the phone steady with, and a way to record usable sound.
Power. A power bank is non-negotiable for anything past ninety minutes. Fast charging helps, but a spare cable matters more because the failure mode is a dead phone in a crowd where you cannot plug in.
Storage. Check free space before you leave, not on arrival. A 1080p file from a modern phone runs roughly 6 to 10 MB per minute, so an hour of continuous recording is a serious commitment. I aim for at least 30 GB clear, which leaves room for backups on the handset itself.
Audio. The built-in microphones are the weak link in almost every field clip. A wired lavalier microphone that plugs into the headphone socket, or a small directional shotgun microphone on a short mount, changes the footage more than any camera upgrade. Wind is the other half of the problem, and a cheap foam windscreen solves it.
Stability. A small tripod handles stand-ups and interviews. For walking shots, a monopod or a two-part phone grip with a built-in cable release keeps the horizon level without fighting the handset.
Light and backup. Nothing expensive is needed here. Face the subject toward open shade or a window, keep a clean cloth in a pocket for the lens, and bring whatever drive or card your newsroom uses for hand-offs.
Settings that vary by phone and operating system are the part people get wrong. On iOS you lock focus and exposure with a long press on the screen, which drops an AE/AF lock badge above the viewfinder; the control lives in the Camera app under the yellow control at the top of the frame for shooting formats. Android usually locks with a single tap, adds a small lock icon, and often exposes a dedicated exposure slider. Menus move between manufacturers and between versions, so check the manual for your handset rather than trusting a screenshot from someone else’s phone.
If you want finer control than the built-in app gives you, a third-party camera app exposes manual focus, white balance and bitrate. They cost nothing much and help on a scene where the light changes fast, though practice with one before you depend on it under pressure.
Camera settings worth locking in before you shoot:
- Resolution: 1080p (1920×1080). The format newsrooms and agencies accept. 4K wastes storage and the heat budget for no editorial gain.
- Frame rate: 50 or 60 fps. Gives the editor slow motion for free and smooth motion in a fast-moving event.
- Codec: H.264 or H.265 (HEVC). H.265 halves the file size at the same quality; stick with H.264 for maximum compatibility.
- Stabilization: on. Cuts visible shake on handheld walk-and-talk shots.
- Zoom: 1x only. Any pinch beyond 1x is cropping, not magnification.
- Audio source: external mic if fitted. Phone microphones cannot separate a speaker from wind and sirens.
One note on the frame rate that older guides keep getting wrong. The advice to shoot 30 fps at 1080p came from broadcast conventions that have largely moved on. Shooting at 50 or 60 fps and conforming in the edit gives an editor options that 30 fps cannot: slow motion for a breaking scene, and the ability to stabilise a shaky shot by cropping rather than by guessing.
Step-by-Step: How to Shoot Video on a Phone for News
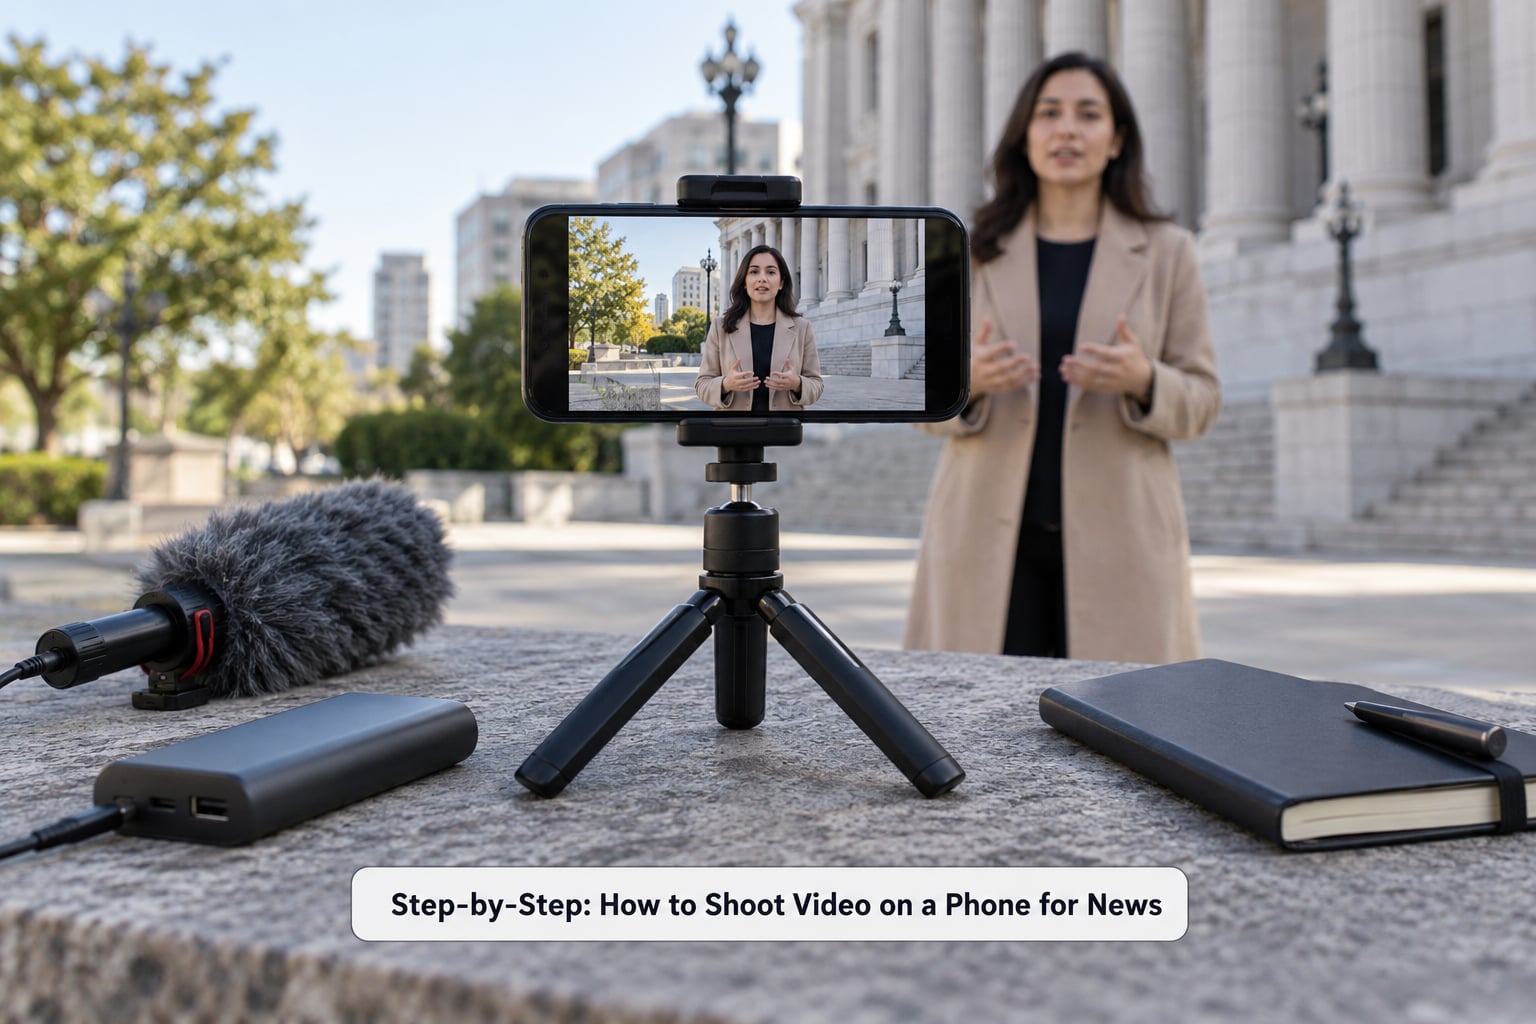
1. Prepare the Phone and Reporting Plan
Before you leave, charge to full, clear storage, and clean the lens. A smeared lens is the most common cause of soft, milky footage, and it is the fastest fix in this entire guide.
Switch on airplane mode so calls and notifications cannot interrupt a recording, then turn Wi-Fi back on when you need to upload. Update the operating system only if you have tested the camera afterwards; an untested update on a deadline is a risk, not a gain.
Write down the time, the location, the names of the people you expect to speak, and your deadline. You will record some of that information anyway, and on a developing story the timeline matters more than the visuals.
2. Set the Camera for News Footage
Open the camera, switch to video mode, and confirm you are on the rear main camera rather than the selfie lens or an ultra-wide view that distorts faces at the edges. Choose 1080p at 50 or 60 fps, then turn on stabilization.
Frame the shot, then lock exposure and focus. On iOS that is a long press on the subject; on most Android phones it is a tap that drops a lock indicator. Locking stops the camera from hunting every time a hand crosses the frame, which reads on air as amateur.
If your phone has a manual camera app, set white balance to a fixed value rather than auto, and keep exposure slightly under what looks right on the phone screen. Phone screens are far brighter than the scene you are filming, so what looks correct on the handset is usually overexposed in the file.
3. Frame Shots for Clarity and Accuracy
Work in three sizes: a wide shot that establishes where you are, a medium shot showing the subject in context, and a close shot on the person speaking. Cut between them and the edit will have somewhere to go.
Keep important context inside the frame. If a building matters, do not crop it out. If you are reporting from a protest, include the street name sign or the shop fronts behind you; a wide shot with legible detail is often the only verification anyone will ever have.
Turn on the grid overlay so you can place eyes and shoulders near the intersecting lines rather than dead centre. For interviews, leave a little space above the head and point the subject’s eyeline into the frame rather than into the lens.
Pan deliberately. Move your feet instead of your wrist, start the pan before the action arrives, and finish with three seconds of still frame at the end of every take. That tail of stillness gives the editor a clean cut point.
4. Record Clean Audio and Conduct the Interview
Distance kills audio before quality does. Get the phone, or the microphone, within a metre of the speaker. If you cannot, record the voice separately on a handheld recorder and sync it in the edit; mismatched room tone will be obvious, but usable dialogue beats perfect ambience every time.
Hold the microphone below and slightly to one side of the speaker’s mouth rather than directly in front of it, and fit a windscreen whenever you are outside. Wind noise is not fixable in software because it distorts the recording at the moment it enters.
Ask short, open questions. Who is speaking, what happened, when did you see it, how do you know, and what have you not seen? Then stop talking and stay quiet. Most ruined interviews are ruined by a reporter who fills the silence.
Record ten seconds of room sound at the start of every location. Editors use it to smooth transitions, and it is the difference between a clip that feels cut together and one that feels assembled.
5. Capture Context, Labels, and Verification Clues
Shoot the establishing shot before anything else: the street, the building, the signage, the weather. Once events start, you will not get a calm wide shot again.
Keep footage of what you could actually see. Anything a bystander told you is context, not footage, and the line matters when a clip is later used as evidence. If you did not witness a claim, say so on the record and hold the claim to whoever did.
Where consent is appropriate, get it. Identify yourself and your outlet on camera, explain what the footage will be used for, and accept a no. When a person declines, stop filming them rather than arguing.
Be careful with minors, injured people, and anyone who is not in a position to say no. Blurring faces in the edit is not a substitute for a decision about whether to shoot at all.
Note the time and place as you go, and keep your original files intact. Verification desks at agencies and public broadcasters work from metadata and chronology, and a clip with no record of when it was made is much harder to confirm than one with a clean note.
6. Review, Back Up, and Publish the Footage
Before you leave the location, play the first and last few seconds of every clip on the phone itself. You are checking three things: that the framing is right, that the audio is clean, and that nothing identifiable should not be there.
Transfer the originals, and never edit on the phone’s copy. Copy to a drive or card, upload a second copy to your newsroom or cloud destination, and only then begin trimming. Two copies is the working minimum; community reporters regularly describe losing hours of footage to a single failed transfer.
Rename files as you go, using a convention your newsroom can parse. Something like location, date, subject and sequence works: street-20260314-council-01. Metadata travels with the file, but names determine whether anyone finds it in a hurry.
When editing, remove only what was avoidable, such as a stumble at the start of a take or a long pause. Adding captions with the location, date and source helps verification, and correcting an error is a sign of competence rather than weakness.
iPhone and Android: what actually differs
Beyond locking focus, the practical differences are small. Both shoot 1080p at 50 or 60 fps out of the box, both can take an external microphone through the headphone or USB-C port, and both offer a grid overlay in the native camera app.
The differences are in menus and behaviour. Android gives you more manual control by default on many models, including exposure compensation and manual white balance, while iOS keeps those behind a third-party app or the Pro video mode. Android file transfer is often faster over a direct cable connection, and iOS transfers through the Photos app or a desktop import.
Whichever you carry, know the two things you will do under pressure: lock exposure, and start and stop a recording without hunting through menus.
What to do when there is no time to set up
Some scenes give you thirty seconds. In that case: put the phone in video mode, hold it with two hands at chest height, lock focus, and shoot the wide shot first.
Do not adjust settings, do not attach a tripod, and do not start on a close shot. Get the picture and the words, then improve on the second attempt if there is one.
Common Mistakes
Zooming instead of moving. Pinching past 1x crops the sensor and throws away detail; it cannot be undone. Walk closer, or use a phone with a genuine telephoto lens and stay at 1x or 2x optical.
Recording from too far away. Interview audio fails at about two metres with a built-in mic, and any footage in which you cannot see facial detail is weak for a report. Move in, or get a second microphone closer to the speaker.
Ignoring wind and background noise. A windscreen costs almost nothing and prevents the distortion that no edit can repair. Record room tone so you can cover gaps instead of leaving dead air.
Failing to identify the source. Filming someone without saying who you are or what outlet you represent breaches most newsroom policies and can invalidate the footage. Identify yourself in the first ten seconds.
Skipping the establishing shot. Without context, a clip of a crowd is unusable because nobody can place it. Start every location with ten seconds of wide, then move in.
Publishing private information. Screens, name badges, car plates, letterboxes and school uniforms all need a decision before publication, not after a complaint.
Deleting the original. Once an upload succeeds, deleting feels tidy. It is also the moment you lose the only untouched version if a correction is needed. Keep originals until the story is closed.
Publishing an unverified claim. Video shows what the camera saw, not what happened before it started or outside the frame. State what you can see, attribute everything else, and say plainly when a clip is supplied footage rather than your own.
A few habits cover most of that. Practise the camera app until the controls are muscle memory. Watch the audio waveform as you record rather than finding out in the edit. And tell people calmly what you are doing; journalists in community threads are consistent about this, and confidence is safer than hesitation.
Frequently Asked Questions
Do I need a tripod to shoot steady news video on a phone?
For interviews and stand-ups, yes, a small tripod is the cheapest quality upgrade you can make. For walking shots, a monopod or a two-part grip with a cable release works nearly as well. If you have neither, brace your forearms against your ribs, tuck your elbows into your torso, and hold your breath for a few seconds while you record. Software stabilisation helps with small shakes but cannot rescue a wild swing.
Should I shoot news video vertical or horizontal?
Shoot horizontally, or landscape, for anything going to broadcast, a website article, or a partner wire service, because that is the shape editors cut into. Shoot a separate vertical clip of the same stand-up for Instagram, TikTok and YouTube Shorts, where vertical is the native format. Capture both in the same visit rather than asking for a reshoot, and keep the subject centred so either crop works.
Do I need an external microphone for phone news video?
If sound matters, and it always does on a news package, yes. A wired lavalier microphone clipped to the subject’s collar removes room noise and wind that the built-in phone microphones cannot separate from speech. Budget for a windscreen as well, because outdoors a foam cover prevents distortion at the source. Without any microphone, keep the phone within a metre of the speaker and record room tone to cover edits.
What frame rate and resolution should I shoot news video at?
Shoot 1080p, which is 1920 by 1080 pixels, at 50 or 60 frames per second. That is the format newsrooms and agencies accept, and the higher frame rate gives an editor slow motion for free and options to stabilise a shaky shot by cropping. Older guides recommend 30 fps; that advice predates current delivery practice. Reserve 4K for situations where you genuinely need to crop heavily, since it eats storage and battery.
How do I get large video files off my phone in the field?
Copy over a cable to a laptop or drive first, because that is the fastest and safest method, then upload a second copy to your newsroom destination or cloud. Do not delete originals from the phone until the story is closed. Some phones offer a direct-to-drive or direct-upload option that skips the computer step entirely. Check free space on both ends before you start, since a failed transfer part-way through is how footage gets lost.
Is it legal to record video at a protest or public event?
In many places you can record in public areas, including public streets and most public meetings, but rules vary by country, state, venue and event. Private property, private meetings, and some government buildings carry different restrictions. Know your newsroom’s legal guidance before you film a specific event, and never let equipment or safety concerns stop you from asking a local official or event organiser what the rules are on the day.
Conclusion
Learning how to shoot video on a phone for news comes down to a handful of habits repeated under pressure: lock your settings before you record, keep the microphone close to the person speaking, stay at 1x and walk closer, shoot the wide establishing shot first, and protect the original file with two copies.
Start with the part that costs nothing. Clean the lens, charge the phone, clear the storage, and record thirty seconds of yourself talking in a quiet room so you know what the audio should sound like. Do that once, and the field work gets easier.
From there, work through the workflow in order on your next assignment. Plan, prepare, lock, frame, record sound, note the context, back up twice, verify, then publish. The phone will do the rest, and on current hardware the picture quality is rarely the limitation anyway.