To storyboard an explainer video, write the one-sentence message first, break it into scenes, draw one rough panel per visual change, then add the voiceover line, on-screen text and timing under each frame. For a 60-second piece that usually means 10 to 14 panels, and a first pass takes an afternoon on paper or in a free canvas tool. Storyboarding is a planning habit, not an art skill: a rough rectangle with an arrow and three words beats a beautiful drawing nobody can follow.
The point of the board is to find problems while they are still cheap. A frame that confuses someone reading a printout costs you a pencil. The same frame rebuilt as animation costs a re-render and another round of review with the client.
Before you draw anything, know these five things:
- One sentence that says what the viewer understands by the end.
- A finished script, or a locked outline with the key lines written.
- A runtime you are actually working to, in seconds.
- An aspect ratio: 16:9 for web and YouTube, 9:16 for vertical social.
- A named reviewer and the date the board has to be approved.
Table of Contents
- What You Need
- Step-by-Step: How to Storyboard an Explainer Video
- Common Mistakes
- Frequently Asked Questions
- How many frames do I need for a 60-second explainer video?
- Can ChatGPT generate a storyboard for an explainer video?
- Do I need to be able to draw to storyboard an explainer video?
- Should I write the storyboard before or after the script?
- What is the difference between a storyboard and a shot list?
- How long does it take to storyboard a 90-second explainer?
- Conclusion
What You Need
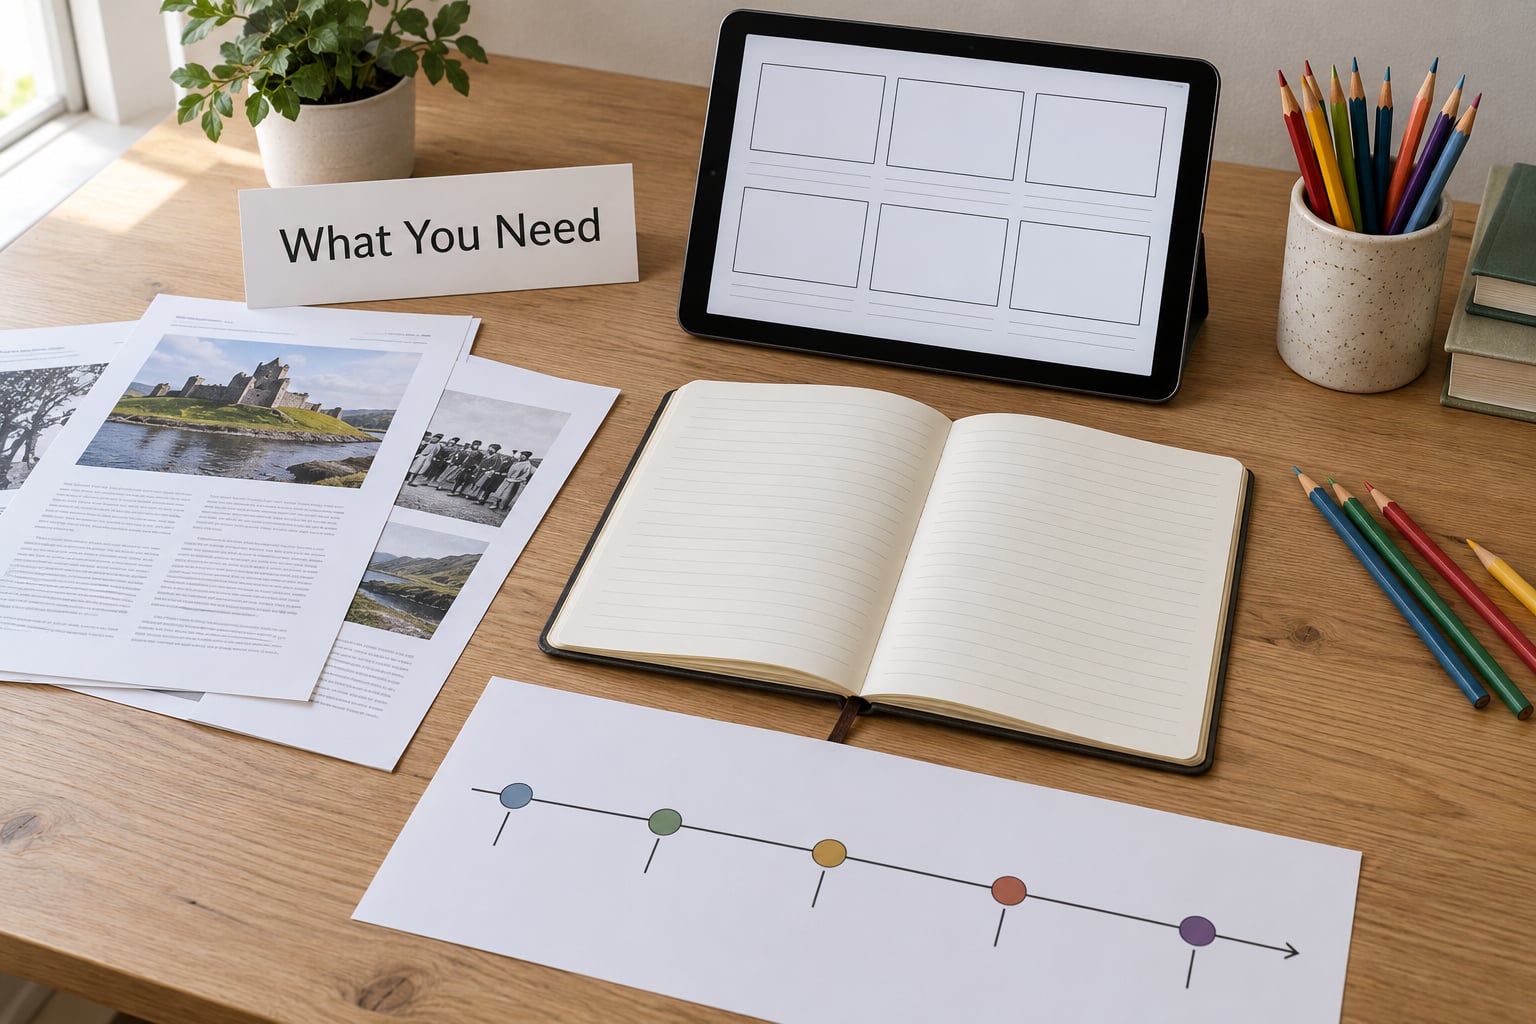
The minimum kit is a brief, the source material, and a way to sequence frames. Everything else is convenience.
The brief. A short written brief with the audience, the single question the video answers, the runtime and the outcome you want. Half a page is plenty. If the brief does not fit on half a page, the video probably has two ideas in it.
Source material. The research, screenshots, data tables, brand assets and reference images that will appear on screen. If the explainer shows a chart, paste the chart into the board rather than describing it. If it shows a product screen, drop a real screenshot in the frame.
A target audience. Not “the market.” A named reader: a first-week analyst who has never opened the tool, a patient scrolling at 11pm, a board member who saw the quarterly numbers. Audience decides how much you can leave unsaid.
A duration and an aspect ratio. Duration sets the panel count, and the aspect ratio should be set before you draw, not after, because a 9:16 frame leaves you a narrow strip for labels and no room for a wide interface screenshot.
A review method. Decide now how the board gets approved: a shared link with comment access, a PDF emailed to one named decision maker, or ten minutes in a call where you present it panel by panel. Boards that sit in an inbox unreviewed are the most common reason a schedule slips.
Tools. Paper, pencils and a phone photo work for a first pass, and motion designers on r/CavalryMotion routinely recommend exactly that: get the structure onto pencil and paper, then rebuild it in software once the argument holds. For digital work, a free canvas tool such as Canva or Milanote handles panels and notes, a dedicated board tool such as Boords or Storyboard Pro handles structure and export, and an animation-first tool such as Vyond or Powtoon is useful when you want to test motion early. Pick one for the pass and do not migrate until the board works.
Step-by-Step: How to Storyboard an Explainer Video
Six steps, in this order. Each one has a deliverable you can hand to someone, and each one is finished when the deliverable exists, not when it looks good.
1. Define the one-sentence message
Write one sentence that a viewer could repeat afterwards. “By the end you understand why our invoice total rose” beats “explain billing.” If you cannot write that sentence, you cannot board the video, because every panel has to earn its place against it.
Then set three parameters on the same page: who is watching, how long the video runs, and what the viewer does next. Write the runtime as a number with a unit, not as “short.” A 75-second video and a 30-second video produce very different boards, and the difference shows up as frame count.
You know this step worked when someone else can read your sentence and describe the video without guessing.
2. Break the message into a visual sequence
Map the video in three blocks. The beginning states the problem in terms the audience recognises. The middle does the work: a comparison, a process, a before-and-after, one or two key numbers. The end resolves it and points somewhere.
Next, list your information points in order. Beside each one, write the visual action that will carry it. This second column is where most explainers fail: the writer has five points of narration and only two visuals, so the animator invents the rest, badly, in week two.
A few pairings that work reliably: a problem stated in words pairs with a crowded screen; a mechanism described pairs with a cutaway or a simplified diagram; a claim about change pairs with a line or bar chart; a claim about size pairs with two objects at the same scale side by side; a claim about time pairs with a sequence of the same frame changing. If an information point has no visual, cut it or merge it with a neighbour.
3. Sketch scenes before adding detail
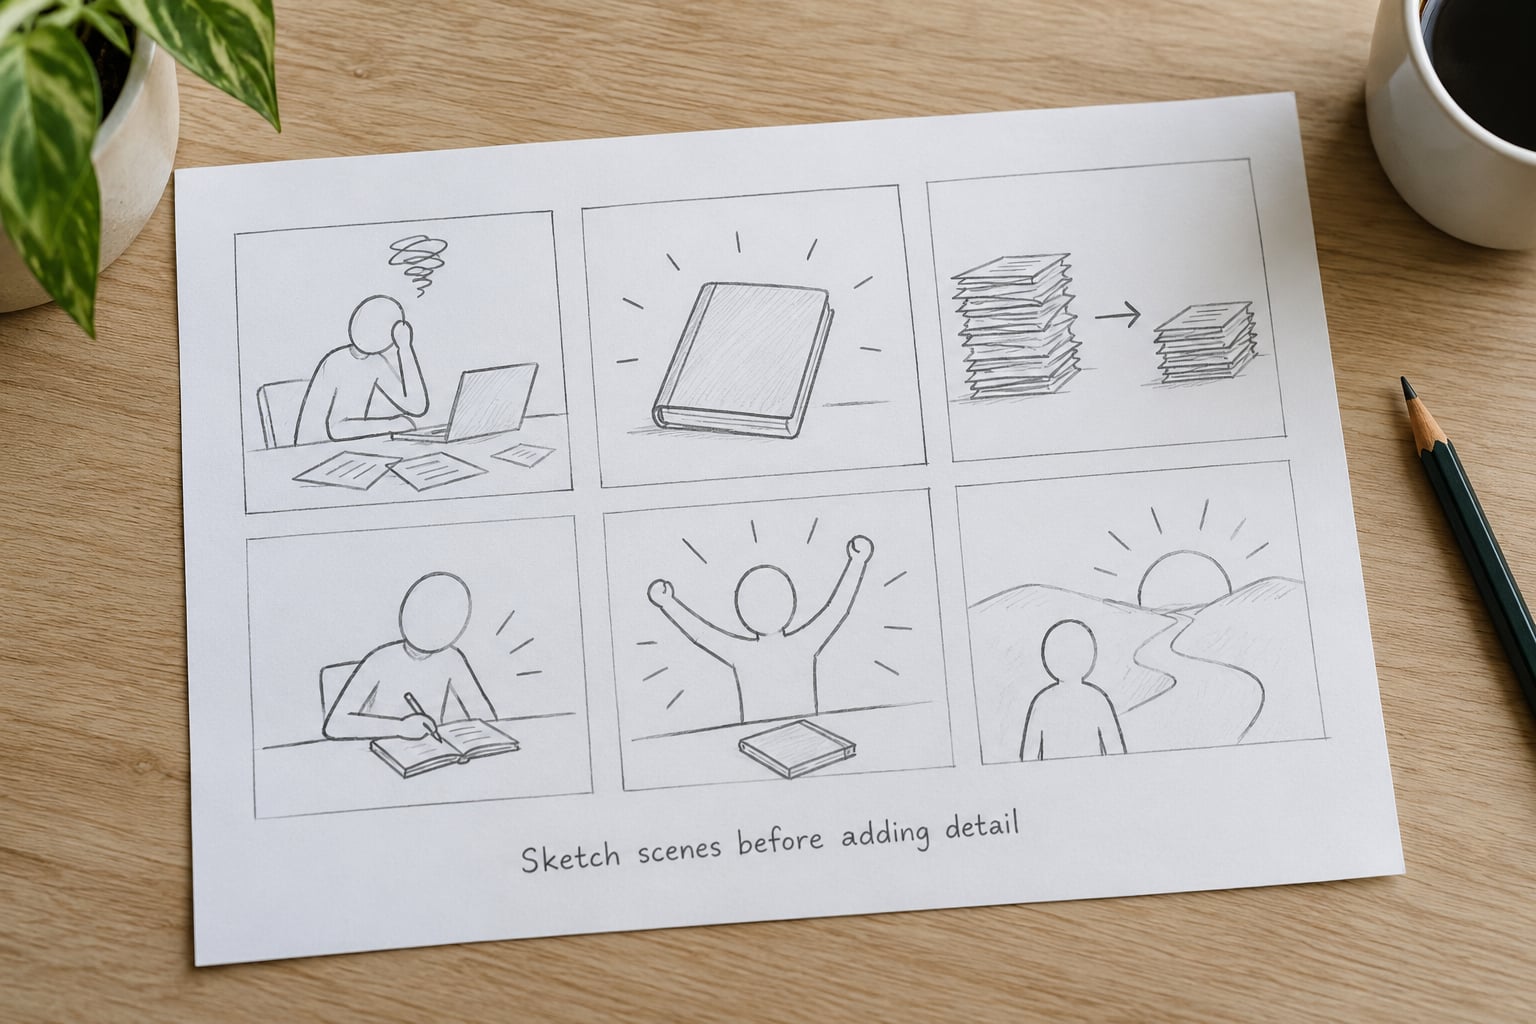
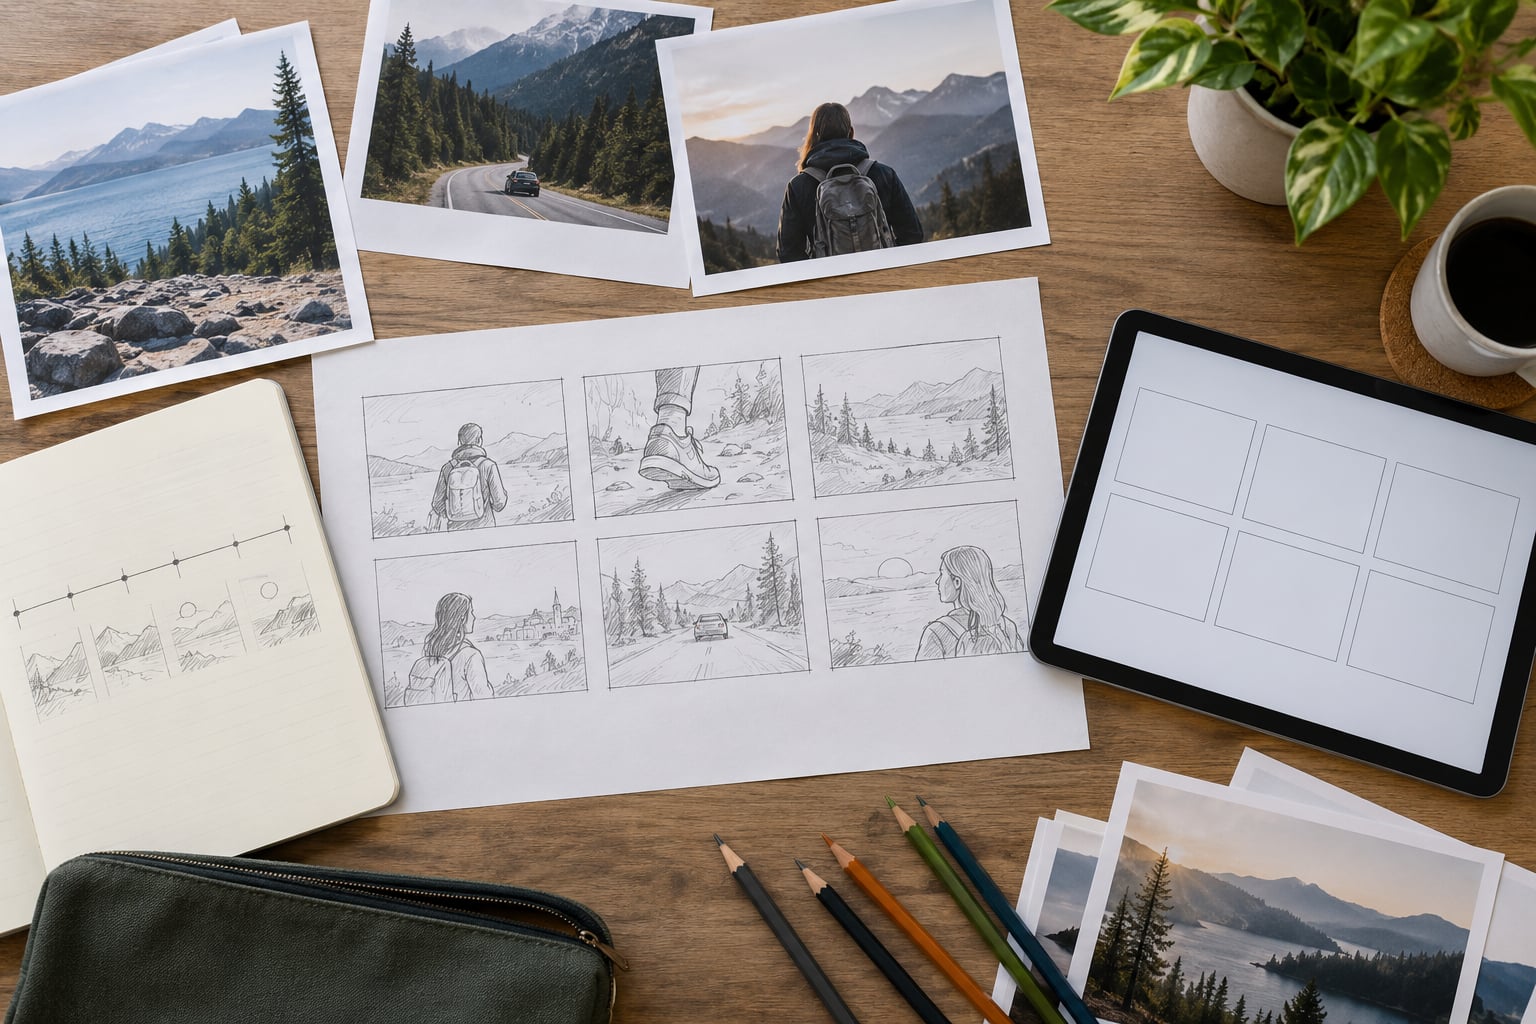
Draw every visual change, not every sentence. In practice that means one panel per state of the screen: the frame before something moves, and the frame after. A scene where an object slides across the background usually needs two panels, one at each end of the movement, with an arrow between them.
Keep the drawings rough on purpose. Rectangles, stick figures, arrows and labels carry all the information a first pass needs, and rough panels stop you from polishing a frame that is in the wrong place. Beginners lose hours to art in a scene that gets cut the following day.
Show change instead of describing it. A panel with a note saying “chart grows here” is a description; a panel with a small chart and a bigger chart is a direction. An arrow tells an animator what the movement is, and a three-word label under the frame tells the client what to look at.
You know this step worked when someone who was not in the room can point at each panel and say what changes on screen.
4. Write concise narration and on-screen text
Under each panel, add three separate things and keep them separate. The voiceover line is the spoken sentence, written the way a person talks. On-screen text is the short label that appears over the visual, ideally under seven words. Direction notes are instructions for the build: enter from the left, hold, then fade.
The most common waste in explainer boards is a line that says the same thing twice. If the voiceover says “costs dropped by a third” and the on-screen text says “COSTS DOWN 33%”, one of them is noise, and the viewer processes the duplicate as a signal that something important is happening. Pick one and cut the other.
Read the voiceover column straight down at a normal speaking pace and time it. Most people narrate animation at 145 to 160 words per minute, so a 60-second video is roughly 150 words of script. If your board carries 260 words, something will be read too fast in the final mix.
Captions are a fourth layer. Decide now whether captions are burned in, and if so keep them identical to the voiceover so no one has to read two different lines.
5. Add timing, transitions and visual direction
Put a duration in the corner of every panel, in seconds. Four to six seconds per panel is a workable rhythm for most explainers, and any panel that needs two seconds to land is usually trying to do two jobs. Add the transition in plain words between panels: cut, dissolve, slide, hold, push in.
Note camera treatment only where it carries meaning. A push-in on a number the viewer should notice is direction. A push-in on a background panel is a note that costs you revision time for nothing.
Check the aspect ratio now rather than at the hand-off. A 9:16 board is a tall column of panels with a narrow safe area in the middle, which means fewer words on screen and simpler compositions. If the same script has to work in both 16:9 and 9:16, board the vertical version and treat the wide version as a re-crop, not a separate design.
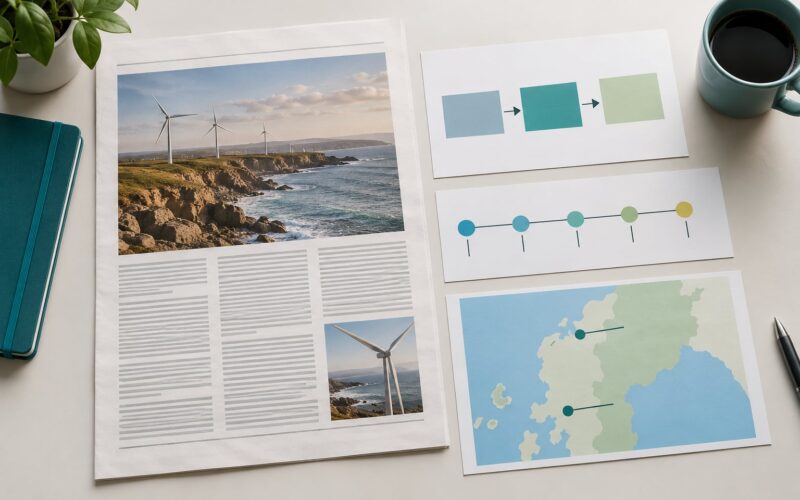
For an explainer that leans on data, build the charts as panels rather than as decoration. A bar chart, a line with the key year called out, and a source line at the bottom of the frame do more for trust than any animated logo sting. The newsroom habits behind that kind of visual work are worth reading up on if your team publishes explainers regularly.
6. Review the explainer video storyboard with a test audience
Put the panels in order and read only the voiceover, with the drawings visible. Do not explain what you meant. If the reader asks a question you did not plan for, that panel has failed.
Test with two or three people outside the project. Ask them to tell you the one thing the video is about, then ask where they stopped understanding. The second question is the useful one. Note the panel number, not the reaction, because reactions are opinions and panel numbers are fixes.
Then revise in one pass rather than five. On a 14-panel board, expect three or four panels to change after a test read, usually in the middle where the argument gets dense. Once the board survives a test read with no prompting, send it for sign-off with a clear deadline and a note about what happens after approval. A client who changes the script after signing off is a different conversation, and it is much easier when everyone knows in advance which stage is locked.
You know this step worked when the reader gives you back the correct one-sentence message and asks no questions about the sequence.
Common Mistakes
Boarding every sentence. One panel per sentence turns an explainer into a slideshow and buries the two or three visuals that matter. Fix: board visual changes, then count back. A 60-second video usually lands at 10 to 14 panels.
Drawing detailed art on the first pass. Fine rendering on a frame that moves to position four is wasted work, and it hides structural problems under a polished surface. Fix: rough boxes and arrows first, and only re-draw the panels that survive review.
Writing a script instead of showing an action. A panel full of text describing motion is a paragraph wearing a costume. Fix: draw the first and last state of the movement and connect them with an arrow.
Stacking narration and labels on top of each other. Repeating the voiceover as on-screen text makes a video feel like it is shouting. Fix: narration explains, labels name, captions match. One idea, one channel.
Leaving timing and transitions out. A board with no durations becomes a shot list, and animators build their own pacing, which is how a 60-second video comes back at 85. Fix: seconds in every panel corner, transition noted between panels.
Skipping the comprehension test. Feedback on mood and colour feels productive and fixes nothing. Fix: ask what the video is about, and where it stopped making sense, before asking what they liked.
One reassurance worth repeating, because it stops more boards than any other obstacle: drawing skill does not matter. Clear does. A clean rectangle with a labelled arrow is a usable direction; a beautiful sketch that hides what changes on screen is not.
Frequently Asked Questions
How many frames do I need for a 60-second explainer video?
Plan on 10 to 14 panels, which gives each visual change four to six seconds on screen. Motion designers on r/MotionDesign describe the same rule: board every beat where something visibly changes, not every sentence. If a scene brings no new image, no new label and no new position on screen, it does not need its own panel. A two-minute video usually lands between 20 and 28 panels at the same rhythm.
Can ChatGPT generate a storyboard for an explainer video?
Partly. It is quick for a rough first pass and for pitching a visual direction in words, but it generates stills rather than structure, and character or style consistency drifts across a long branded sequence. The users experimenting with it in community threads describe it as a fast starting point, not a deliverable. Write the one-sentence message and the scene list yourself, then use any image tool to test how a single frame might look.
Do I need to be able to draw to storyboard an explainer video?
No. Most explainer boards are built from rectangles, circles, stick figures, arrows and short labels, and animators read them for structure rather than for appearance. The thing that has to be right is what changes on screen between panels, not how the frame looks. Plenty of teams board entirely in a free canvas tool with no drawing at all, then replace the placeholders with real screenshots and charts before review.
Should I write the storyboard before or after the script?
After the script is finished, or at least after the outline and the key lines are locked. Boards built on a moving script collapse the moment a sentence changes, because every panel is attached to a specific line. If the script is still in flux, board the opening and closing scenes only, confirm the argument holds, and finish the middle once the words settle. A short board on a locked argument beats a full board on a draft.
What is the difference between a storyboard and a shot list?
A storyboard shows the frames: what the viewer sees, what changes, and roughly how long it stays on screen. A shot list is a production document listing camera, lens, angle and duration for live-action work. Explainer video is illustration and motion graphics, so a storyboard replaces the shot list almost entirely. The only overlap is timing, which belongs on both. An animator asking for a shot list usually means the board is missing its durations.
How long does it take to storyboard a 90-second explainer?
Roughly half a day to a day for a first pass of 15 to 20 panels, plus a revision pass after the test read. The panel count is driven by visual changes rather than runtime, so 90 seconds of simple build-out work may take less time than 90 seconds of dense argument. Time goes into three places: drawing, writing voiceover and labels under the frames, and adding timing notes. A comprehension test with two readers adds about half an hour and saves far more than that later.
Conclusion
To storyboard an explainer video, do six things in order: write the one-sentence message, map the information points to visual actions, draw one rough panel per visual change, add the voiceover line and on-screen text, mark the timing and transitions, then test the sequence with someone outside the project. Each step produces something you can hand over, and each one is finished when that thing exists.
Start today with the message sentence and a rough count of your panels. Sketch them badly, hand the board to one person, and ask what the video is about. Everything after that gets easier.