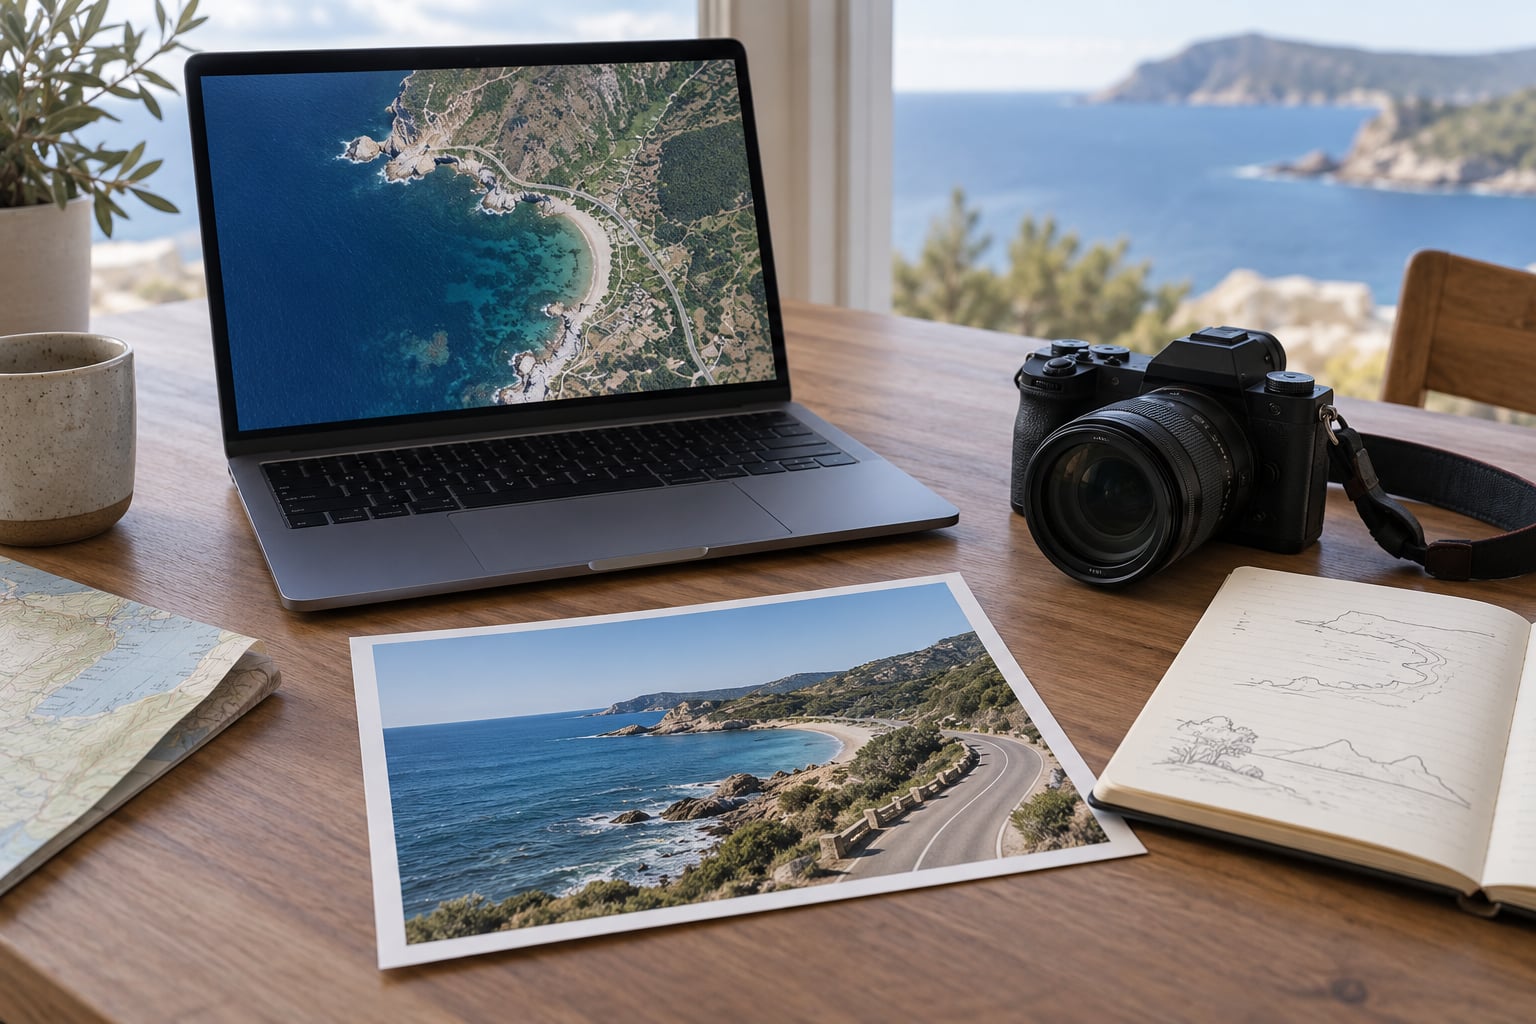
If you need to know how to geolocate a photo using open tools, the answer is a fixed order of work: read the file’s metadata first, then search for the image online, then read the frame for script, buildings, infrastructure and shadows, and finally confirm your candidate against map and street-level imagery. Every tool named below is free, and most need no account at all.
Photo geolocation is the process of establishing exactly where an image was captured. There are two routes into it: reading the metadata embedded in the file, and reading the visual clues inside the frame. The first route is fast and often empty, because most platforms strip the coordinates on upload. The second is slower and always available, which is why it carries the weight in any real verification.
Before you start, run the short version so the whole method is in one place.
- Preserve the original file. Never work from a screenshot or a re-saved copy if you can avoid it.
- Pull the metadata with ExifTool and read the GPS, timestamp and software fields.
- Run a reverse image search on a tight crop of the most distinctive element in the frame.
- Compare the scene against maps, satellite imagery and historical layers for geometry, terrain and shadow direction.
- Confirm the candidate with two independent matching features, then write down your confidence and what you could not prove.
Most beginners underestimate the time. A photo with a distinctive building and readable signage can be pinned in under an hour. A generic street corner with no metadata can eat an entire afternoon and still end as a narrowed region rather than a point. Knowing which kind of image you are holding tells you how much patience to budget.
Table of Contents
- What You Need
- Step-by-Step
- Common Mistakes
- Frequently Asked Questions
- Can I geolocate a photo if it has no EXIF or GPS metadata?
- How accurate are the GPS coordinates stored in a photo?
- How can I tell whether a matching location is not a lookalike?
- Can I use historical Street View or satellite imagery to verify an old photo?
- What is the safest way to publish an unconfirmed geolocation?
- Are there legal or ethical limits to using geolocation tools?
What You Need
You need very little to start. The photo or its highest-quality original, a computer with a browser and internet access, a metadata extractor, at least one reverse image search, and access to map and satellite imagery. Everything on that list has a free option.
What you genuinely need beyond that is a notebook. Write down every clue, every tool, every result, and every dead end as you go. The temptation to retro-fit a clean story onto a messy search is the single biggest source of wrong answers in this work, and a written log is what stops it.
Here is the open tool stack, with the access requirement spelled out, because readers of this kind of guide are specific about which tools are free and which ones want a card on file.
| Purpose | Tool | Site | Access |
|---|---|---|---|
| Read and strip EXIF metadata | ExifTool | exiftool.org | Free, open source, no signup |
| Browser-based metadata view | ExifData viewer | exifdata.com | Free, no signup |
| Reverse image search, general | Google Images, Google Lens | lens.google.com | Free, no signup |
| Reverse image search, scenes and buildings | Yandex Images | yandex.com/images | Free, no signup |
| Reverse image search, earliest publication | TinEye | tineye.com | Free, limited without signup |
| Frame-by-frame video checks | InVID / WeVerify plugins | weverify.eu | Free, signup for full use |
| Street-level imagery, current and historical | Google Street View, Google Earth | earth.google.com | Free, no signup |
| Street-level imagery where Street View is missing | Mapillary | mapillary.com | Free, no signup to browse |
| Satellite imagery and change over time | Sentinel Hub EO Browser | eo-browser.sentinel-hub.com | Free, signup for higher limits |
| Query mapped features like power poles or bollards | Overpass Turbo | overpass-turbo.eu | Free, no signup |
| Sun position, azimuth and elevation | SunCalc | suncalc.org | Free, no signup |
| Solar position cross-check | NOAA Solar Calculator | aa.usno.navy.mil | Free, no signup |
| Practise against known answers | Quiztime, Bellingcat challenges | quiztime.io, bellingcat.com | Free, no signup |
Two notes on that table. The first three reverse image search engines behave differently enough that using only one is a mistake, particularly for scenery and architecture. And the last row matters more than people expect: geolocation is a recognition skill, and it is built by solving puzzles that already have published answers.
Step-by-Step
A workable investigation is repetitive on purpose. Each step records three things: what you found, what it suggests, and what other explanations are still open. Skip the third part and you will talk yourself into a match that is not there.
1. Preserve and inspect the original image
Get the highest-quality version you can, and work from that file rather than a screenshot of it. Screenshots recompress the image, crop detail out of signs, and break the metadata block, so a screenshot can remove the exact evidence you came for.
Then look at the image itself with no tool running. Note the aspect ratio, whether the frame is level, whether the sky is blown out, and what the photograph appears to have been taken for. A news thumbnail cropped from a 16:9 video frame is usually landscape scenery with the horizon centred, and a phone photo of a document will have flat, shadowless light and a straight-on angle.
Record provenance while it is fresh. Who sent it, through which platform, on what date, with what caption, and what claim came attached. That context is often worth more than the pixels, and it is the first thing you forget three days into a hard search.
2. Extract metadata with open tools
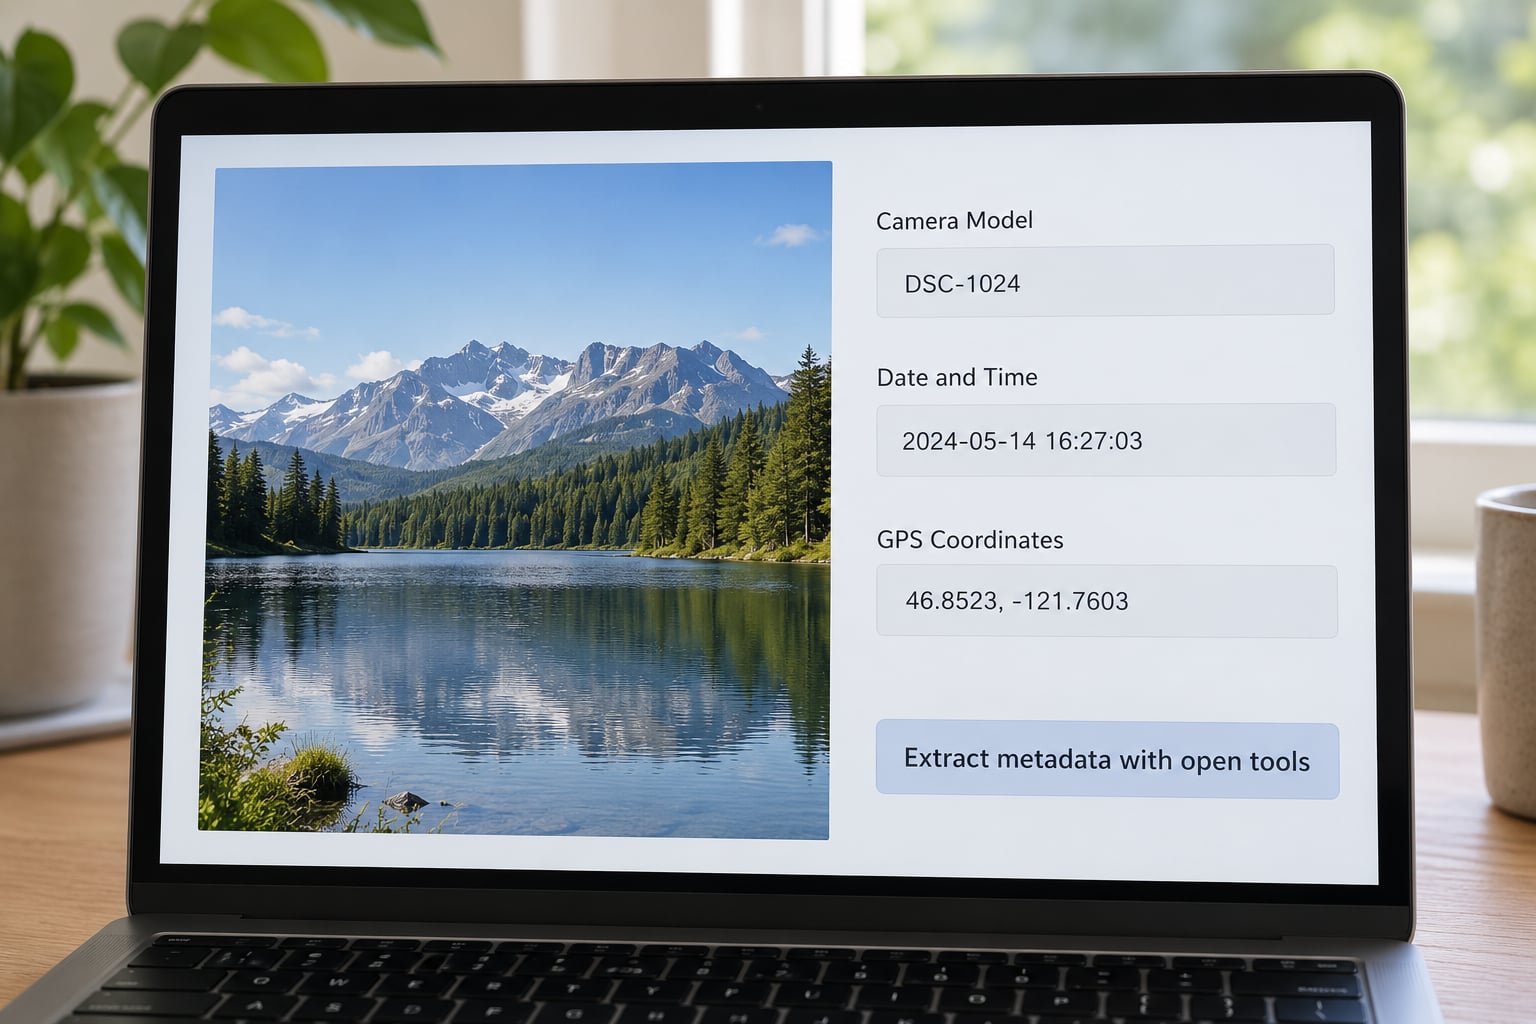
ExifTool is the reference tool here because it reads everything, prints it in one pass, and runs on any platform. The command that gives you the full metadata dump is:
exiftool -a -u -g photo.jpgIf you only want the location fields, this is the short version, and it answers the question people search for most often, which is how to see the coordinates of a photo:
exiftool -n -GPSLatitude -GPSLongitude -GPSAltitude -GPSDateStamp photo.jpgThree field names carry the coordinates: GPSLatitude, GPSLongitude and GPSAltitude, with the date in GPSDateStamp. Add -n and you get signed decimal degrees rather than the degrees-minutes-seconds string most viewers print. Opening that in a map is the fastest possible result when the data is present.
Now the part nobody explains well. When a platform strips metadata, it does not usually remove everything. Camera make and model, lens, focal length, aperture and shutter values, the original capture timestamp and sometimes software tags often survive a re-save, while GPS is almost always the first thing to go. A file with a full camera record and no GPS block was almost certainly re-encoded somewhere, and a file with nothing at all was probably run through a screenshot or a messaging app.
One more diagnostic: check for a software field. Tags from editing software or a messaging client are a reliable sign the file you are holding is a copy, not the original from the camera.
If you work on a phone and have no computer nearby, the same job is done in the Photos app by tapping the image and then Info or the i icon, or on Android through the file manager’s details panel. Neither gives you a full tag dump, but both surface the coordinates when they exist.
3. Search for matching or earlier versions
Reverse image search answers a different question from visual analysis. It tells you whether the image already exists on the internet, where it was published first, and whether it is a crop or a reframe of something larger. If it was published, the original page often carries the place, the date and the photographer.
Crop before you search. Practitioners solving public puzzles almost always start with a tight crop of the most distinctive element rather than the full frame, and they are right for a practical reason: a full-frame search returns near-duplicate noise, while a crop of a single shopfront or sign cuts the result set to things that actually contain that building. Search the crop, then the full frame, then a second crop of a different element.
Run all three engines before concluding anything. Yandex is the one that most often returns a useful match for scenery, buildings and non-English signage. TinEye is the one that reaches furthest back, so it is your best shot at the earliest publication of a recycled image. Google Lens handles a broad range of visual queries and is useful when the object in the frame is common but the arrangement is not.
When you find a candidate match, check for manipulation. Different corner positions of the same scene, a mirrored image, a sky that has been swapped, or a shadow that does not match the buildings are all signs the two images are not the same capture.
Search by text too. Transcribe any legible writing, signage or number plate into a text search with the scene described in words. A shop name plus a town guess is often faster than another image search.
4. Compare the image with maps and satellite imagery
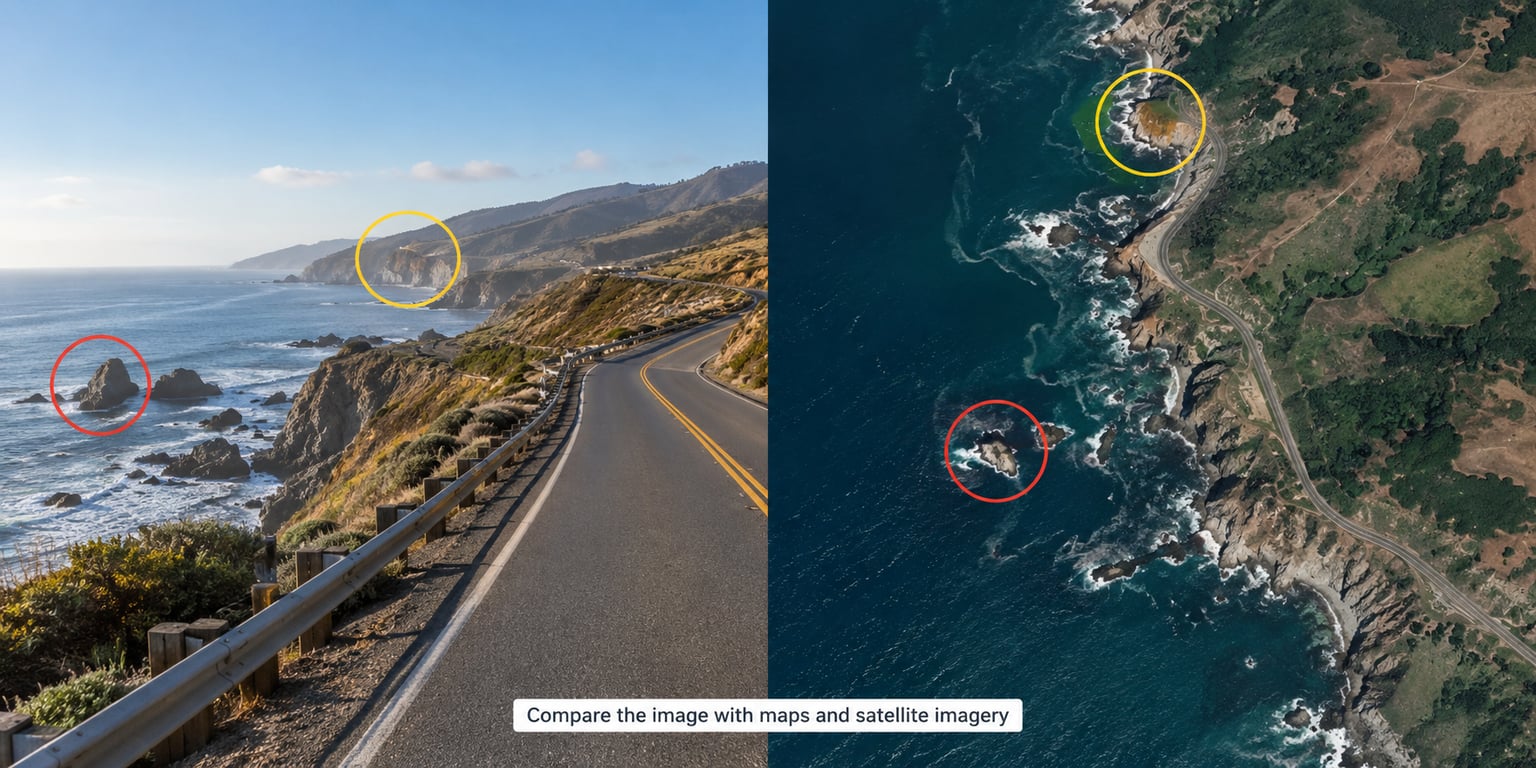
This is where geometry does the work. Coastlines, river bends, road junctions, the shape of a harbour, the outline of a ridge and the pattern of a field system are all things you can match against imagery without knowing the name of anything.
Work top down. Ask which country could this not be, and knock those out first. Then narrow to region by terrain and land use, then to city by the shape of the built-up area, then to a specific place by the geometry of a junction.
Use the historical layers as well as the current view. A road that bends slightly differently, a building that has since been demolished, or a car park that is now a construction site tells you the photograph is older than the imagery, and often by how much.
Where Street View coverage does not exist, you have three good fallbacks. Mapillary gives you crowdsourced street-level frames, often including countries Google has never driven. The Sentinel Hub EO Browser gives you high-resolution satellite scenes with a date slider, which is how you check whether a structure was there at the time. Overpass Turbo lets you query OpenStreetMap for mapped features in a candidate area, so you can ask whether that region has the kind of thing you are looking at rather than guessing.
Shadows deserve their own pass. Measure the object’s height and the length of its shadow, take the ratio, then look up the solar elevation angle for a plausible date at a plausible latitude. The shadow length divided by the object height equals the tangent of the elevation angle, so a pole casting a shadow twice its own length means the sun was about 27 degrees above the horizon. SunCalc and the NOAA Solar Calculator both give you the numbers to compare against, and if the frame was taken at local noon the shadow should point close to north in the northern hemisphere. A mismatch of several degrees across several objects usually means your date is wrong, not your place.
5. Check street-level and historical imagery
Once you have a candidate, stop reading the whole frame and start matching specific things. Storefronts, window shapes, door numbers, kerb markings, road paint, bus shelters, post boxes, waste bins, the design of a sign, the number of lanes, the position of the utility poles. Each one is a separate test.
Pay attention to the things that change and the things that do not. A road layout and a building footprint survive for decades. Paint, planters, signage and shopfronts change every few years. A match on a stable feature, plus a match on a feature that dates the photo to a narrow window, is worth far more than three matches on signs that get replaced often.
For older photographs, dig out the oldest imagery you can get. Street View has a history slider that goes back years in most countries, and satellite archives go back further still. Dating the candidate to the exact window in which every visible feature coexisted is one of the strongest confirmations available, and it is the step most people skip because the current view looked close enough.
Mind the viewpoint geometry too. A photo taken from a bridge, a hill or an upper floor window will not align with a Street View frame from the road, so judge the relationship between landmarks rather than trying to overlay the two images. If the image is flipped, mirrored or upside down relative to reality, every alignment you attempt will mislead you.
6. Verify the location and report confidence
Apply the standard the community actually uses: at least two independent features must match the same precise point, and the features must be independent of each other. A single matching building is not a geolocation. It is a lead. Two independent matches is a location, and it is the difference between something you can publish as fact and something you can publish as a strong lead.
Before you commit, actively hunt for the lookalike. Every town has a street with that roofline, that sign style and that road marking. Search for a second candidate that fits the same description and compare them. If a rival location fits almost as well, your honest answer is a region, not a point.
Then state your confidence in plain words, and state what you could not confirm. Confirmed means two independent features at the same point with no serious contradiction. Probable means the evidence points one way but rests on a single strong feature or on incomplete imagery. Uncertain means you have narrowed it to a region or a shortlist. Publishing the gap alongside the finding is what makes the record credible, and a note about what you could not establish does more for your standing than the finding itself.
Keep a simple evidence log while you work. Five columns are enough:
| Hypothesis | Clue | Tool used | Result | Confidence |
|---|---|---|---|---|
| Photo taken in a coastal town | Harbour wall curves left, tide out | Satellite imagery | One candidate matches, one does not | Probable |
Logging the dead ends matters as much as the hits. On a hard image, the reason you ruled a candidate out is usually the thing that will save you an hour of rework two days later.
Common Mistakes
Treating missing metadata as a dead end. It is a redirect. The moment you see an empty GPS block on a phone photo, switch to reverse image search and visual analysis without treating it as a loss.
Trusting metadata that looks complete. GPS coordinates in a file can be inherited from a template, a stock download or an editing tool, and they can be wrong. A coordinate is a lead that you confirm, not a verdict.
Naming a landmark and stopping. Recognising a famous building tells you a city, and often a wrong district. Check what surrounds the building, then check the building from street level, then check the timeframe.
Ignoring orientation. A flipped or rotated photo will send you hunting for road configurations that do not exist. Establish north before you start matching geometry.
Overlooking change over time. The current map is often not the map in the picture. Use historical Street View and dated satellite layers, and treat a structure that no longer exists as a dating clue rather than a contradiction.
Searching with a compressed screenshot. Low resolution destroys the text and texture that carry the most identifying information. Work from the original file, or from a crop taken at full resolution.
Presenting a plausible match as certainty. Plausibility is cheap. Confidence comes from independent corroboration, and a published claim that collapses under one good-faith challenge costs more than a hedged one ever earns.
One last habit worth building: keep your own outgoing images harder to locate. Strip the metadata before you post, turn off location tagging for posts that reveal a home or a child’s school, and remember that a single recognisable detail in the background can undo every setting you changed.
Frequently Asked Questions
Can I geolocate a photo if it has no EXIF or GPS metadata?
Yes, and that is the normal case. Most social platforms, messaging apps and image editors remove GPS data on upload, so expect an empty location block. Everything else still works: reverse image search on a tight crop, then visual analysis of script, signage, architecture, road markings, vegetation and shadow direction. The camera model and capture timestamp often survive even when coordinates do not, which at least gives you a date to work with.
How accurate are the GPS coordinates stored in a photo?
When they are genuine, they are accurate to within a few metres, which is far better than anything you can read out of a frame. The catch is that stored coordinates are not always genuine. A file may inherit coordinates from a stock template, a location preset in editing software, or an earlier image. Treat embedded coordinates as a strong lead that still needs visual corroboration, and never publish a coordinate you have not confirmed against the scene.
How can I tell whether a matching location is not a lookalike?
Search for a second candidate that fits the same description, then compare them feature by feature. If a rival location also contains a similar building, sign style and road layout, you have a lookalike and your evidence is not yet specific enough. Require two independent features to match the same precise point, check the oldest available imagery so the features existed together at the same time, and downgrade to a region when a rival fits nearly as well.
Can I use historical Street View or satellite imagery to verify an old photo?
Yes, and you should. The Street View history slider in Google Earth goes back years in most countries, and satellite archives such as the Sentinel Hub EO Browser go back further with dated scenes. Historical imagery serves two purposes: it confirms the scene existed at all, and it dates the photo by finding the window in which every visible feature was present together. A building that is now demolished is often the strongest dating clue you can get.
What is the safest way to publish an unconfirmed geolocation?
Publish it as a lead, not a fact, and state the confidence level in the same sentence. Name the tools you used, give the coordinates you matched rather than a vague area, attach annotated comparison images, and list what you could not confirm. Readers and editors can then check your reasoning instead of trusting it. Never round a probable match up to certain, and never name a private individual or home as the location of a photo.
Are there legal or ethical limits to using geolocation tools?
Yes. You may look at what a photographer deliberately published, but metadata on an image you received without the sender’s consent is a different matter, and photographing or publishing the location of a private home exposes the people inside it. Publish the minimum needed, blur faces and number plates, and check the rules in your jurisdiction before naming a person. Some contexts, including evidence for police or courts, have their own legal standards that ordinary journalism does not.
Start with the file in front of you. Pull the metadata, and if the coordinates are gone, crop the most distinctive thing in the frame and run it through Yandex, TinEye and Google Lens before you look at a single map. Whatever you find, write down the clues as you go, because the person who has to defend your conclusion later is you.