To fact check a viral video, work backwards from the clip: find the earliest version you can, compare its upload date against the date of the event in the caption, then reverse search keyframes, geolocate the scene, and look for AI or editing artifacts before you share anything. It takes about three minutes for the quick version and closer to thirty for a full pass.
Video is the hardest format to check. A sentence can be pasted into a search box; a clip cannot. Platforms strip the embedded data on upload, a real recording of a real event can be paired with a caption that reverses its meaning, and generative models now produce footage that survives a casual glance. Emotion travels faster than verification, so a clip can reach millions before anyone bothers to trace it.
One habit matters more than any tool: keep notes as you go. Write down each source you open, each date you find, and each thing that failed to check out. The notes are what turn an opinion into a verdict you could defend to an editor, a teacher, or a comment section.
Table of Contents
- What You Need
- Step-by-Step: Verify the Viral Video
- 1. Preserve the Original File and Claim
- 2. Trace the Video’s First Known Appearance
- 3. Check the Source and Account History
- 4. Run Reverse Image and Key-Frame Searches
- 5. Verify Location, Time, and Weather
- 6. Examine the Video for Editing or Misrepresentation
- 7. Find Independent Corroboration
- 8. Rate the Evidence and Report the Result
- Common Mistakes
- Frequently Asked Questions
- Conclusion
What You Need
None of the checks below need a subscription or a paid database. You need five things, and only one of them is software.
- The original file or its direct link. A working link to the exact upload, not a screenshot of somebody’s post about it.
- The claim, written out. What exactly is being asserted: that this happened, here, on this date, for this reason.
- A verification toolkit. A browser extension that pulls keyframes and metadata, plus a reverse image search engine and a mapping tool.
- Reference sources worth trusting. Bellingcat and Full Fact publish their own verification methods. The House of Commons Library and BBC Verify have open guides. Snopes maintains a searchable archive of older claims.
- A log. A document or note file, open in a second window. Every URL, date, and finding goes in as you go.
On tools specifically, these are the ones that came up again and again in newsroom and fact-checking guidance as of 2026. Availability shifts, so if one has moved or gone quiet, the surrounding method still holds.
Step-by-Step: Verify the Viral Video
Eight steps, in order. Each one answers a question, and each has a sign that you finished it properly. Skipping ahead is how people end up confidently wrong.
1. Preserve the Original File and Claim
Start by keeping a copy of exactly what you were given, before you look at anything else. Save the video, screenshot the post, and write down the URL, the account name, the visible timestamp, the caption, and the number of views.
Do not judge the clip from a repost or from a compressed in-app preview. Most of the visual detail that proves or disproves a claim lives in the compression, and platforms often re-encode differently per device.
You are done when you have the highest-quality file available and a written statement of the claim being tested. That statement is what every later step is measured against.
2. Trace the Video’s First Known Appearance
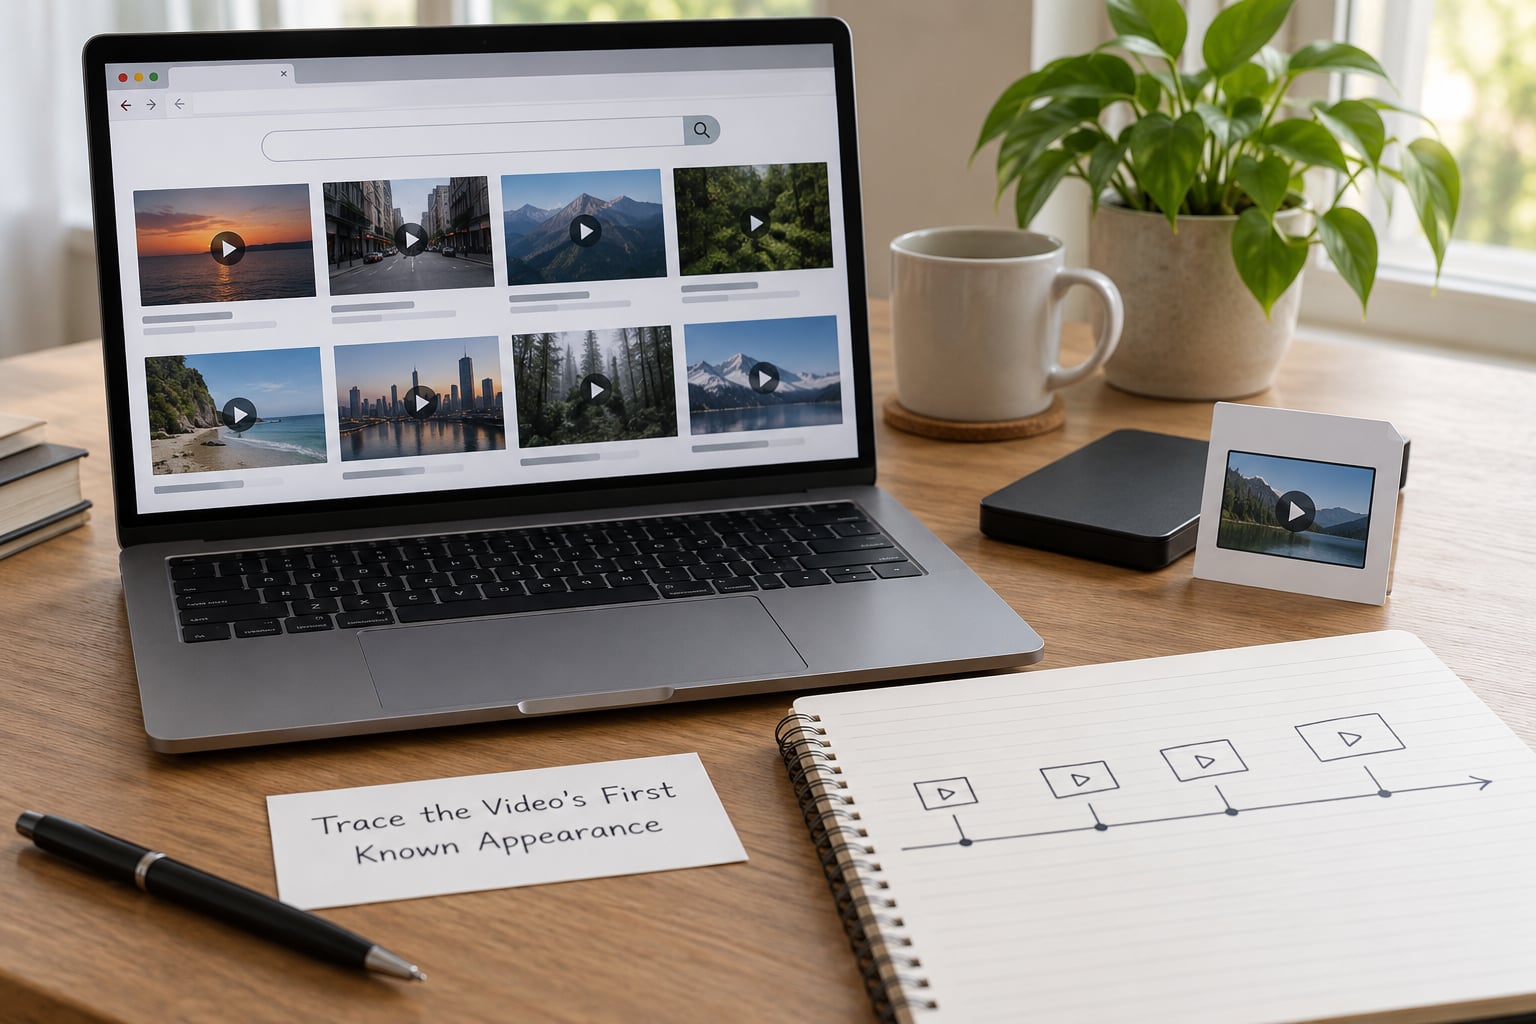
Now find the oldest copy you can, not the most-shared copy. Search quoted fragments of the caption in quotation marks, search the uploading handle, search the file name, and search distinctive visual details if the scene is unusual enough to describe.
The heuristic that catches most recycled footage is simple: if the earliest version you find was posted before the event in the caption happened, the claim is false regardless of how real the footage looks. A clip uploaded on a Tuesday cannot document a Wednesday explosion.
You are also looking for caption drift. The same file often circulates with different captions on different platforms, tuned to each audience, and the earliest caption is usually the least rhetorical one.
You are done when you have an earliest credible upload date and at least one earlier or competing version, or a clear note that no earlier version could be found. Absence of an earlier copy is a finding, not a gap.
3. Check the Source and Account History
Ask who posted it and why they are the right person to post it. Look at the account’s age, its prior posts, whether it links to sources, whether it has issued corrections, and whether it stands to gain from the clip spreading.
New accounts with no history, sudden bursts of posting, and text that has been through a translation layer twice are all worth a pause. So are sockpuppet and bot accounts: several near-identical accounts pushing the same file in the same hour is a coordinated push, not independent confirmation.
You are done when you can say in one sentence who the uploader is and what their relationship to the event is, including “no verifiable relationship”.
4. Run Reverse Image and Key-Frame Searches
Take three or four screenshots from different moments in the clip, including the most distinctive frame, and search each one. Use a keyframe extraction extension to find them faster, then run the frames through more than one reverse image search engine, because coverage differs between them and a frame that returns nothing on one may return ten results on another.
Judge results by date, not by popularity. The most-shared version is frequently the most-cropped and the most-captioned. The earliest credible match tells you what the footage really shows.
You are done when at least one frame returns a credible earlier match, or you have recorded that none of your frames returned anything, which points toward AI-generated or freshly produced footage.
5. Verify Location, Time, and Weather
Open-source intelligence work is mostly comparing details. Look for signage, road markings, bus shelters, shop fronts, licence plate formats, utility poles, kerb styles, and building materials, then check them against street-level imagery and satellite views for the claimed city.
For time, use shadows and sun position, weather, vegetation, and the local event calendar. Shadows that point the wrong way for the claimed hour, or clear skies in footage captioned as a storm, are cheap catches. Chronolocation is a method of dating and placing footage from those clues alone, and it works surprisingly well on single frames.
You are done when you can place it, or you can name the specific detail that stops you placing it. “Probably somewhere in that country” is a legitimate result.
6. Examine the Video for Editing or Misrepresentation
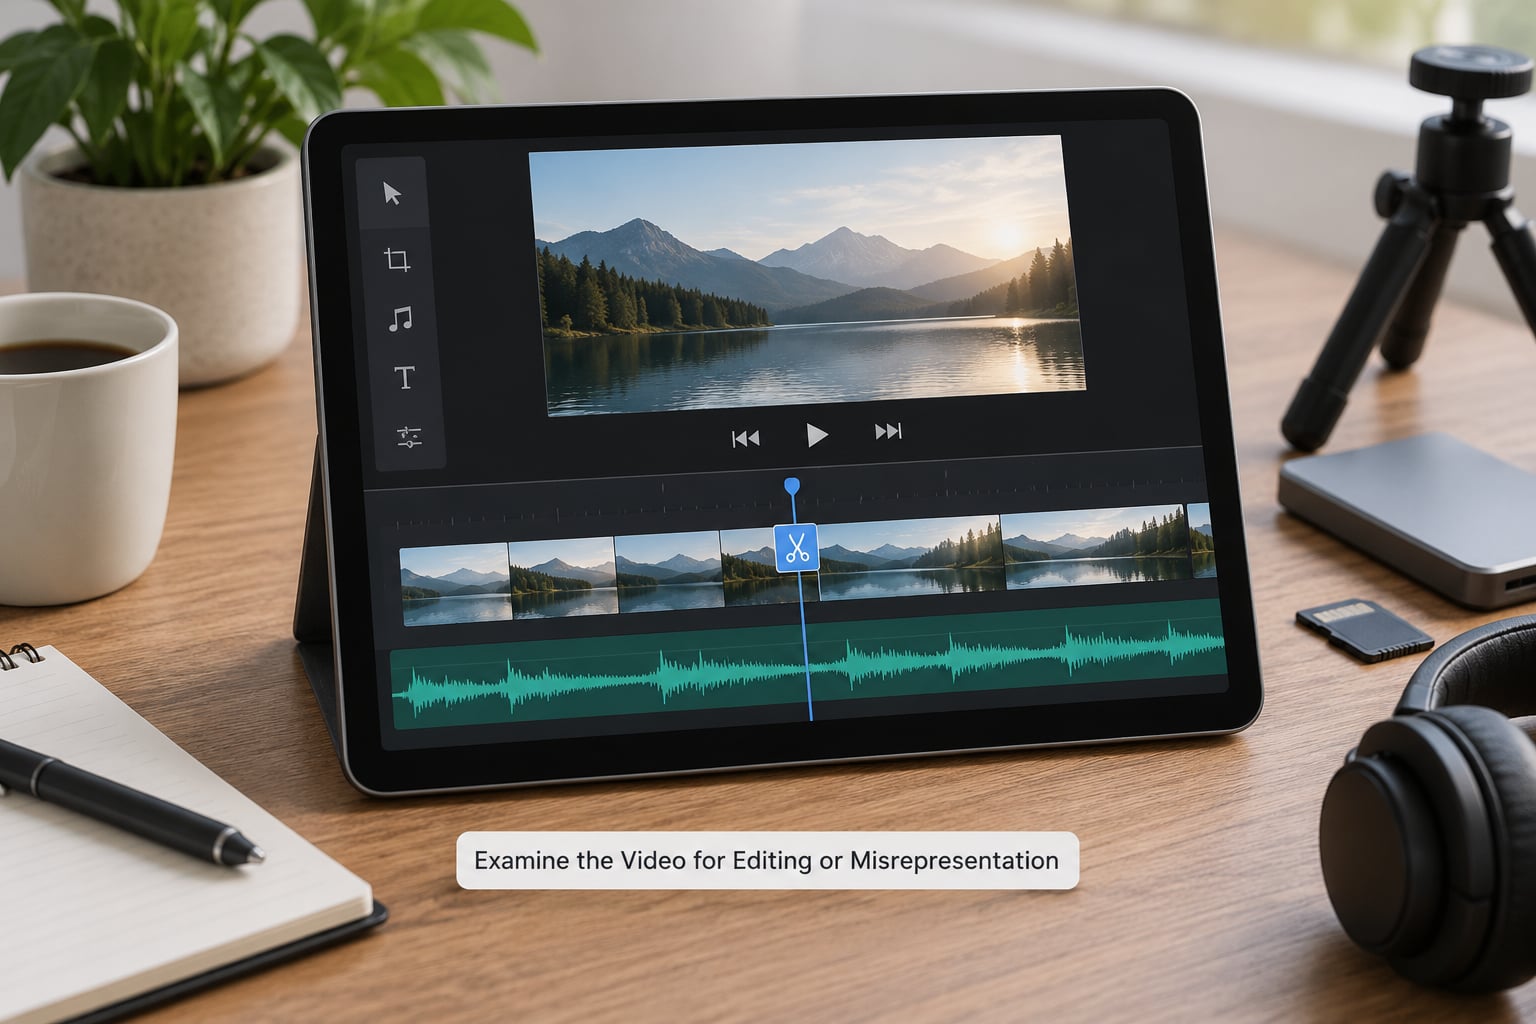
Play it twice. Once for the scene, once for the seam. Watch for a jump in lighting or ambient noise, frozen or stretched frames, shadows that change direction, audio that cuts mid-syllable, captions that describe something the footage does not show, and a clip that jumps between two unrelated scenes in a way the caption treats as one event.
Selective framing is subtler than a cut. A tight crop, a zoom at the decisive moment, or a clip started a few seconds in can turn an unremarkable scene into something alarming, and none of it requires software skills to detect.
Automated detectors deserve scepticism here. A clean scan does not prove authenticity, and a flagged clip is not automatically fake. Current models produce false alarms on heavy compression and genuine recordings, and the tells they were trained on are decaying as the generators improve. Treat a detector result as a prompt to look harder, never as the verdict.
You are done when you have watched the audio and the video separately, at normal speed, and can say whether the footage is continuous.
7. Find Independent Corroboration
Ask what other people saw. Look for official statements, wire services reporting on the event, local journalists on the ground, public records, weather services, and eyewitness accounts that were published before the clip started spreading.
The test is independence, not volume. Ten outlets republishing the same wire report is one source. Two local reporters and a fire department who never spoke to each other is three.
Search existing fact checks too. If the claim has been circulating for years, someone has probably already ruled on it, and that record saves you the whole investigation.
You are done when you have at least one primary source that predates the clip, or you have established that no one with direct knowledge has confirmed it.
8. Rate the Evidence and Report the Result
Put the verdict in writing, with the evidence attached. Four verdicts cover nearly everything: accurate, misleading, unproven, or false. They mean different things and the difference is worth being precise about. Misleading means real footage attached to a false context. Unproven means nobody can confirm it either way, which is where a lot of honest checking ends.
Then state your confidence, list what is verified, list what is still uncertain, and list what evidence would change your mind. That last part is the one most people skip and the one that makes a verdict credible.
You are done when someone else could pick up your notes, follow the same path, and reach the same conclusion.
Common Mistakes
Most bad verdicts come from a handful of habits, and each has a straight correction.
Judging a compressed repost. The version in your feed has been re-encoded and re-cropped. Get the original file first, and treat the repost only as evidence of what people are saying about it.
Treating popularity as evidence. View counts measure distribution, not truth. A clip reaching fifty thousand people tells you how much attention to spend, not what happened.
Calling one matching frame proof. A reverse search hit means the same file has circulated before. It does not confirm the caption attached to it, which is usually the part that is wrong.
Confusing old footage with a new event. This is the single most common viral failure mode. Comparing the earliest upload date to the claimed event date settles it in one step.
Trusting a detector score. No score is proof in either direction. Use it to decide where to look, not what to conclude.
Sharing a verdict without sources. A bare “fake” invites a pile-on and gives the person you are correcting ammunition. Publish the chain of evidence instead, including what you could not confirm.
A few habits from professional practice help. Scale the effort to the reach: a clip in a group chat needs a quick trace, a clip in an election or a conflict needs the full eight steps. And when checks conflict, say so plainly rather than picking whichever result you wanted, because an honest “one source says X and two say Y” is a genuinely useful finding.
Frequently Asked Questions
How to verify a viral video?
Save the highest-quality copy you can get and write down the exact claim being made, including the date and place. Find the earliest upload, extract three or four keyframes and reverse search them, check the scene against maps and satellite imagery, and look for AI or editing artifacts. Corroborate with at least one independent source, then write the verdict with its evidence attached.
How do you fact check a video?
You build a chain of evidence in order: who posted it, where it first appeared, what the earliest upload date is compared to the claimed event date, what reverse image search returns for its keyframes, what the metadata says, whether the location and time hold up, whether the footage is continuous, and whether independent sources confirm it. Record each finding as you go, because the written chain is the deliverable.
Is 10,000 views considered viral?
There is no fixed number, and any figure you see quoted is platform-specific. Ten thousand views is unremarkable for a large account and genuinely surprising for a small one. What matters more is reach relative to the poster’s normal audience, and whether the clip is being pushed across accounts at once. That scale is a better guide to how much verification effort the clip deserves.
How can I tell if a video is AI-generated?
Look for hands with wrong finger counts, teeth that blur or merge, lip movement that lags the audio, shadows falling in two directions, perspective lines that never converge, background faces that smear into texture, signage text that is not real text, and an accent that does not match the speaker. These tells are decaying quickly, so the absence of them proves nothing. Detection software gives a score, not a verdict.
Should I share a viral video I cannot verify?
No, not without a clear caveat. If the checks did not resolve, say that plainly and describe what you found and what remains unconfirmed. If you want to draw attention to it, describe the footage and its origin rather than repeating the caption as fact. Unverified resharing is the mechanism that turns a bad guess into a widely believed claim.
Conclusion
The first action, before any tool and before any opinion, is to preserve the original file and trace its earliest credible source. That single step catches the most common viral video failure: real footage, wrong date, wrong place, or wrong caption.
Work the rest of the steps in order, keep the notes, and treat “cannot confirm” as a real answer rather than a failure. Verifying a viral video is not about catching everyone out. It is about not being the reason a false version spreads.