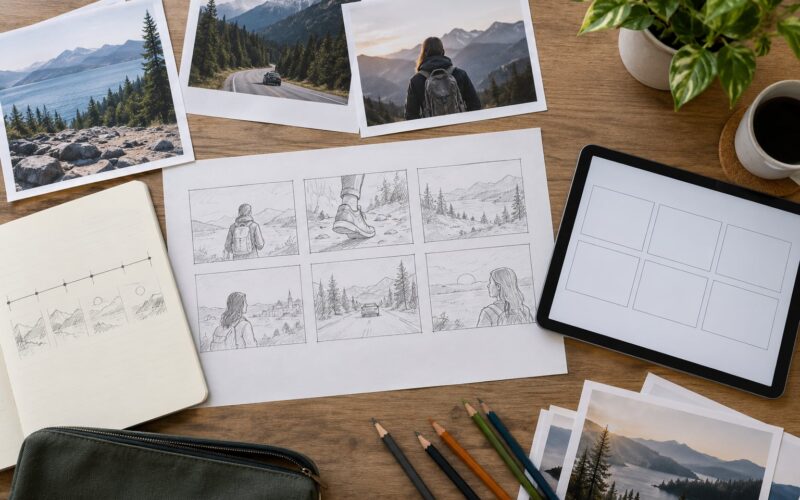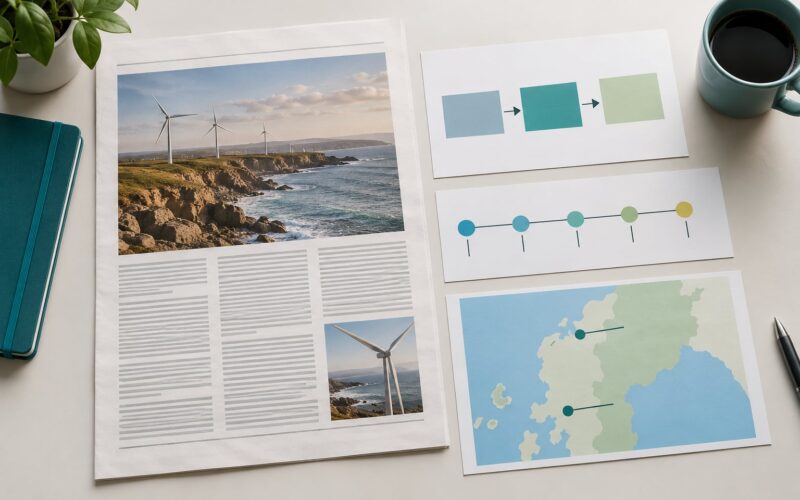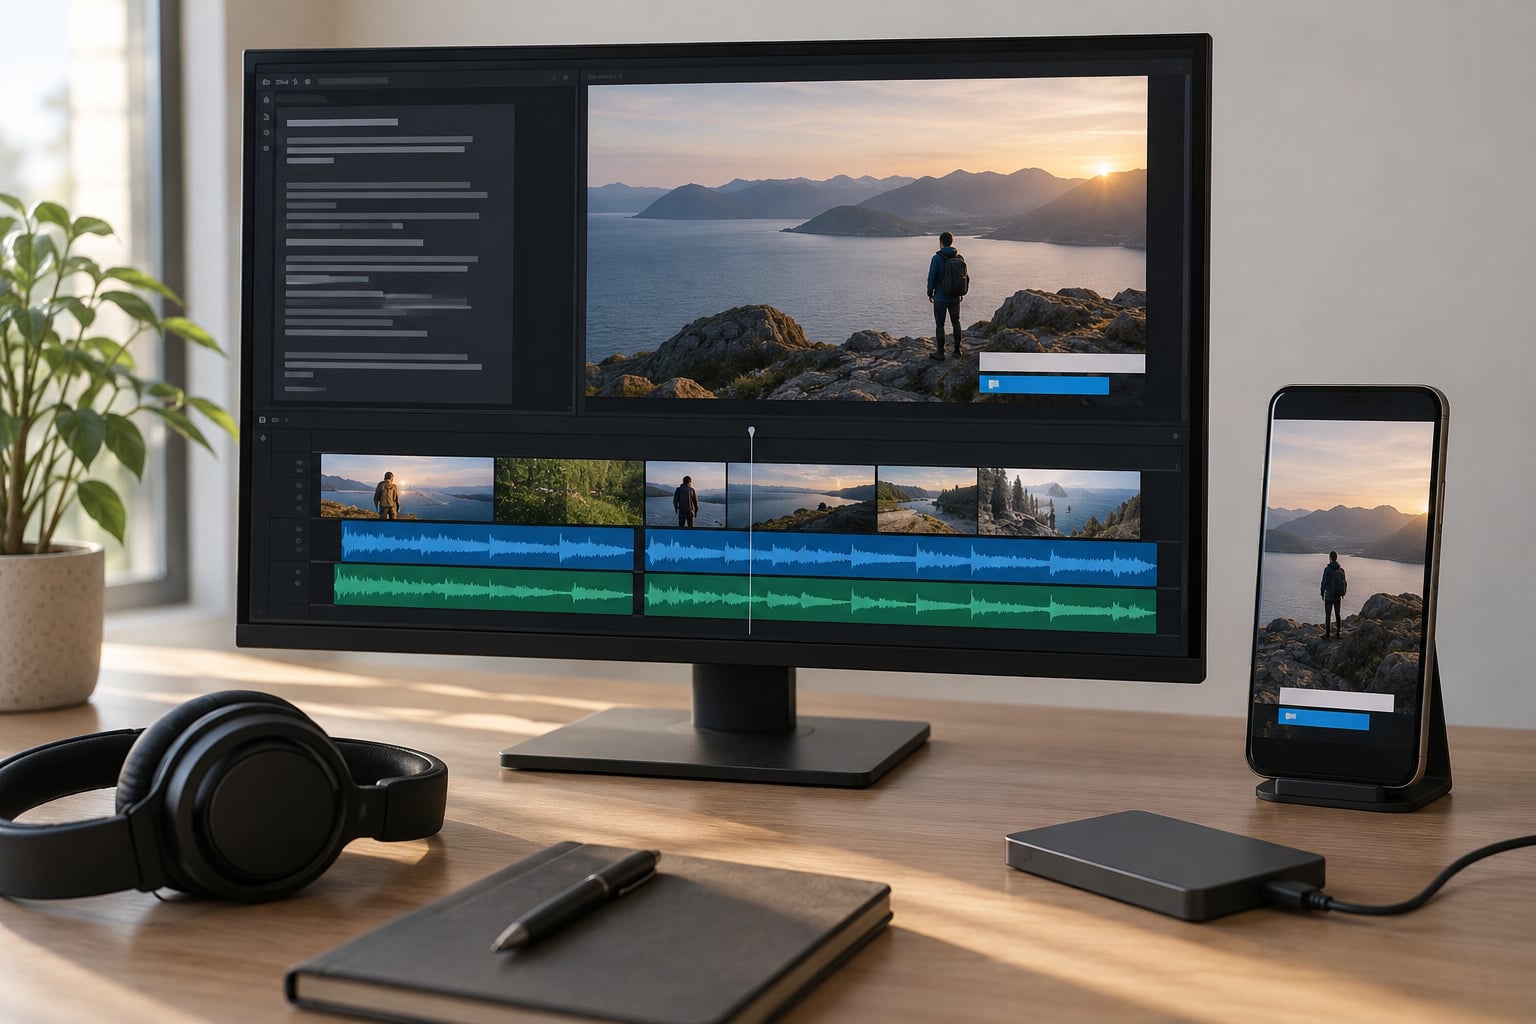
Learning how to edit a short news video fast comes down to order of operations, not to how fast your machine is. Plan the slot, ingest and log the footage, make quick selects, assemble a rough cut, cut to time with a small margin, then finish with captions, graphics and a level check. A prepared 30- to 60-second package takes roughly 15 to 30 minutes at the desk; an unprepared one can eat an afternoon.
The hard part is not the cutting. It is resisting the urge to polish before the structure exists, and catching factual details such as name spellings and archive captions while you still have time to fix them.
The walkthrough below uses DaVinci Resolve 19 or later on desktop. Premiere Pro and CapCut Desktop cover the same functions under different menu names, so the steps translate if your outlet runs something else.
Key takeaways
- Know your slot length before you open the editor.
- Log good takes at ingest so you are not hunting later.
- Cut the rough cut to time with about five seconds of margin under the slot.
- Cover every cut inside an interview with a cutaway or a change of shot.
- Verify names, dates and quotes against your notes before you export.
- Export once, review that file, then fix.
Table of Contents
- What You Need
- Step-by-Step
- Common Mistakes
- Frequently Asked Questions
- How long should it take to edit a short news video?
- What is the best video format for short news content?
- Is it safe to use automatic captions for news video?
- What software is fastest for editing short videos?
- How do you improve bad interview audio without advanced skills?
- When is a template workflow better than a custom edit?
What You Need
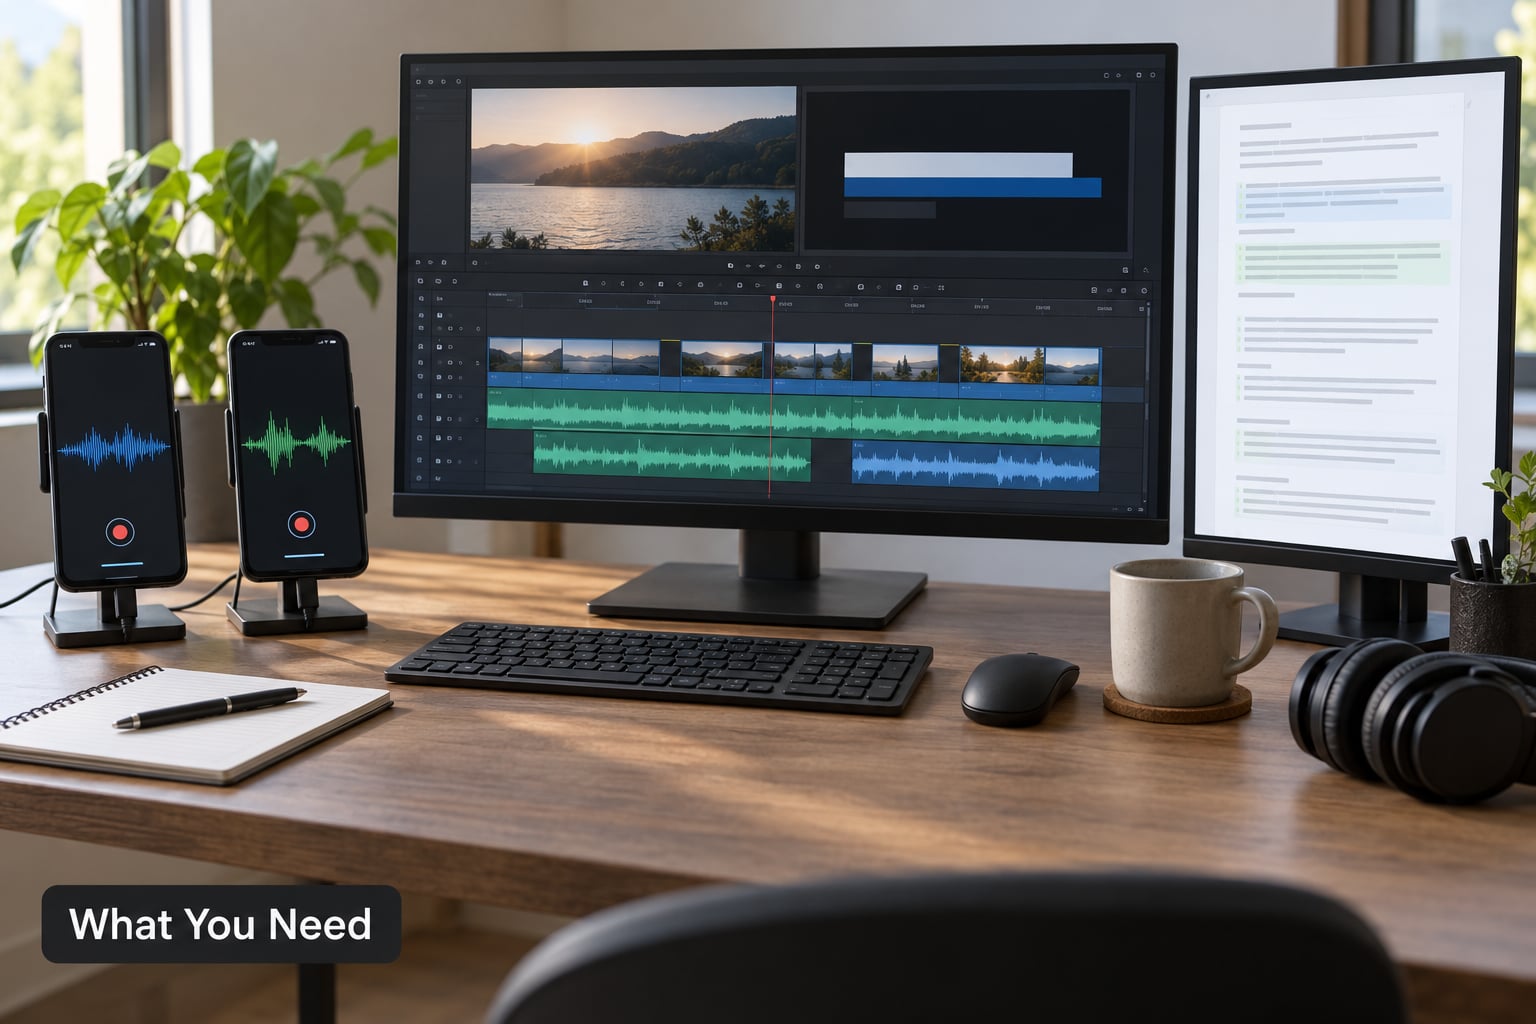
A quick news video edit starts before the timeline exists. Gather these items and the desk work shortens on its own.
- Footage copied off the field card to the editing drive, with camera timecode intact if your camera records it.
- Interview audio as a separate raw track, not just the camera’s mixed mono track.
- Verified facts: names, spellings, titles, dates, figures, and where each came from.
- A script or beat sheet laying out the package in two or three lines before you cut anything.
- Graphics assets: lower-third templates, fonts, logo and colours, already loaded as a project template.
- A transcript, typed or auto-generated, so you can search for a word instead of scrubbing for a phrase.
- Editing software. DaVinci Resolve 19 or later runs this walkthrough; Premiere Pro and CapCut Desktop do the same jobs.
- Headphones and a spare drive or backup location.
Back up the originals before you touch anything. Fast editing still means touching a lot of files quickly, and a card failure at 11pm is not a good reason to miss the slot.
Step-by-Step
Knowing how to edit a short news video fast is mostly about order of operations. A simple 30- to 60-second package should take 15 to 30 minutes once the footage is organised. Source quality, the number of shots, whether the audio needs repair and how many revision passes the producer asks for will all stretch or shrink that, so treat it as a working budget rather than a promise.
how to edit a short news video fast: build the rough cut first
Start with housekeeping, not with effects. If you shot 4K at 60 frames per second or above, create optimised media or proxy files first so the timeline stays responsive; full HD usually manages without them.
Sort the clips by source in the Media Pool rather than by shooting time, and rename the bins something you will recognise at speed: interview, stand-up, B-roll, archive. If the camera recorded timecode, sync the separate audio track to picture first, then commit.
Now watch only the interview audio at double speed and mark the usable sentences. Journalists who do this regularly say listening at 2x is where most of the time saving comes from, because you are choosing lines instead of hunting for them.
Assemble in the order the beat sheet describes, usually stand-up or cold open, then the strongest soundbite, then reporter narration over B-roll. Keep it between 30 and 60 seconds if the slot allows.
Test the structure before any polish: can you state the beginning, the evidence and the takeaway in one sentence? If a clip does not move the story, park it in a bin labelled maybe rather than trying to make it work now.
Cut for meaning, not perfection
Fine cutting is where quick edits get slow. Work with shortcuts rather than the mouse: the blade tool to split, Q and W in DaVinci Resolve to trim the previous or next edit, and a mapped ripple delete key so removing a clip closes the gap instead of leaving a hole.
Cut out false starts, repetitions, long pauses and the traffic noise between sentences. Keep complete thoughts intact and leave a little air around each answer, because chopping mid-sentence makes even accurate soundbites sound dishonest.
Do not cut between two shots of the same person mid-sentence without something over the join. A reaction shot, a wide shot or a piece of B-roll covers the seam, and it also removes the jump cut look that viewers notice immediately.
Before moving on, run the accuracy pass on the audio you kept: check every name against your notes, confirm dates and figures, make sure a quotation still means what it meant in the interview, and check that the chronology on screen matches the order events actually happened.
Add captions and essential graphics
In DaVinci Resolve 19, the fastest reliable route is the subtitles panel on the Edit page. Import your transcript, let the software match it to the timeline, then label speakers and clean the text before you style anything.
Captions earn their keep on social, where most viewers start with the sound off. Burn in a caption track for those uploads, and also export a sidecar subtitle file so the platform or your CMS carries the transcript properly.
Keep graphics restrained and reuse what your outlet already made. A lower third with the name and title, a source line for agency or archive material, a date stamp, a map or one key statistic is enough. Designing a new template mid-edit is one of the fastest ways to blow a deadline.
Verify the lower-third text character by character against your notes. A misspelled title that reaches air is a correction and an email to the person whose name you got wrong.
Mix speech-first sound and sharpen the edit
Start with speech level normalisation so every take sits at the same loudness. Add light noise reduction on the voice track only, overdoing it gives you the underwater artefact that cheap mics are already famous for.
Duck the ambient sound a few decibels under the interview, then listen on phone speakers as well as headphones. Most of the time that is all bad audio needs.
Add music only when it does not compete with the words. If you use it, drop the interview level under the bed, keep the track well below speech, and confirm the track is cleared for news use rather than borrowed from a streaming library.
For picture, cut on action and trim only a frame or two at each edit. To find jump cuts quickly, play the timeline at double speed with the audio muted and the thumbnails visible, or turn on waveform display so peaks line up and mismatched levels show up.
Review against one export and publish
Review in two passes. The first checks facts and words: names and titles, numbers, dates, whether the quote is complete, whether archive material carries an on-screen source caption, and whether the captions match what is actually said.
The second checks craft: lower-third spelling, graphic positioning, true peaks and loudness, colour consistency between camera and phone shots, and platform-safe margins where the account interface or caption bar can cover the picture.
Export once and review the exported file rather than the timeline. For a horizontal master, use H.264 in an MP4 container at 1920 by 1080; for the vertical cut-down, 1080 by 1920 in the same container at a bitrate around 8 to 12 Mbps.
Keep the frame rate consistent with what you shot, usually 25 or 30. On loudness, EBU R128 gives you the reference points newsrooms work to: around -23 LUFS integrated for broadcast, about -16 LUFS for online delivery, speech sitting near -18 to -12 dB RMS, and nothing peaking above -1 dBTP.
Before you upload, check the platform’s file size limit, add the cover image, attach the subtitle file where one is supported, and read the description for anything that has to be sourced or credited. Uploading is the last step, not the last minute of the last step.
Common Mistakes
Most slow news edits come from the same handful of habits. Each one has a quick fix.
- Starting with effects. Build the rough cut to time first. If the package runs long, you need a cut, not a transition.
- Trusting automatic captions. They mishear surnames, agency names and figures. Read every line against the transcript before export.
- Cutting a clip out of context. Check what precedes and follows every soundbite so the package does not imply something the interview did not say.
- Letting music mask speech. If a viewer in a quiet room cannot follow the words, the mix is wrong.
- Adding too many graphics. Two or three elements per clip is a package; eight is a slideshow.
- Exporting oversized files. Match resolution and bitrate to the destination instead of shipping the master file everywhere.
- Ignoring platform-safe areas. Captions and interface elements cover the edges, so leave a margin.
- Rebuilding from scratch on an update. Save the project as a template first, so the second version is a swap rather than a new edit.
Speed tips
- Keep one project template with bins, graphic layers, caption styling and export presets already in place.
- Learn five shortcuts properly: blade, trim, ripple delete, marker, and a playhead-to-edit-page toggle.
- Turn on proxies for 4K or high frame rate material and switch back to full resolution for the export.
- Use markers or coloured bins for selects so assembly is a drag rather than a search.
- Batch your exports through the render queue instead of waiting on each one.
- Give yourself exactly one focused revision pass, with a written list, rather than three open-ended tweaks.
If you only fix one habit from the list above, make it the rough cut. Knowing how to edit a short news video fast comes down to getting the structure right early, then spending the remaining minutes on accuracy rather than on polish.
Frequently Asked Questions
How long should it take to edit a short news video?
Budget 15 to 30 minutes for a simple 30- to 60-second package once footage is prepared: roughly three minutes to organise, eight on the rough cut, four for captions and graphics, and the rest on sound and export. Longer pieces, weak source audio, archive clearance and revision requests from the producer will stretch that. Prepare before you sit down and the clock stays manageable.
What is the best video format for short news content?
Match the format to where the story runs. Keep a horizontal 16:9 master as H.264 in an MP4 container for web and playout, and cut a separate 9:16 version for social. Same codec family, different canvas. Shoot and edit at one frame rate throughout, 25 or 30 depending on your outlet, because mixed rates cause playback stutter that a fast timeline hides until export.
Is it safe to use automatic captions for news video?
Use them as a first pass, never as the final word. Automatic transcription mishears surnames, agency names and numbers, and a wrong name in a caption turns into a correction request. Read every line against your transcript, fix speaker labels and timing, then export a sidecar subtitle file for accessibility alongside burned-in text for viewers watching with the sound off.
What software is fastest for editing short videos?
DaVinci Resolve’s free desktop version handles most newsroom work and stays fast on modest hardware, and its Cut page with source clip and timeline side by side takes the searching out of an edit. Premiere Pro suits teams already standardised on Adobe, and Avid Media Composer runs larger broadcast operations. CapCut and Premiere Rush work for phone-first publishing, but check export limits before committing.
How do you improve bad interview audio without advanced skills?
Most poor interview audio needs three moves. Use speech level normalisation to set a consistent starting point, apply light noise reduction to the voice track only, and duck ambient sound by a few decibels beneath it. Then listen on phone speakers as well as headphones. If the recording clips badly or carries heavy handling noise, cut around it rather than trying to rescue it.
When is a template workflow better than a custom edit?
A template wins when the format repeats: a daily social cut, a breaking-news update, or a regular slot that always uses the same graphics. Load the project template, swap the media, correct the names in the lower-third and export through your saved preset. Build custom when the story needs an unusual structure, because forcing a rigid template onto a complicated package costs more time than it saves.
Start with the slot length, not the timeline. Decide how many seconds you have, log the good takes before you cut, and build a rough cut that hits that number with a few seconds to spare. Everything after that, captions, graphics, sound and export, takes minutes rather than hours because the structure is already right.