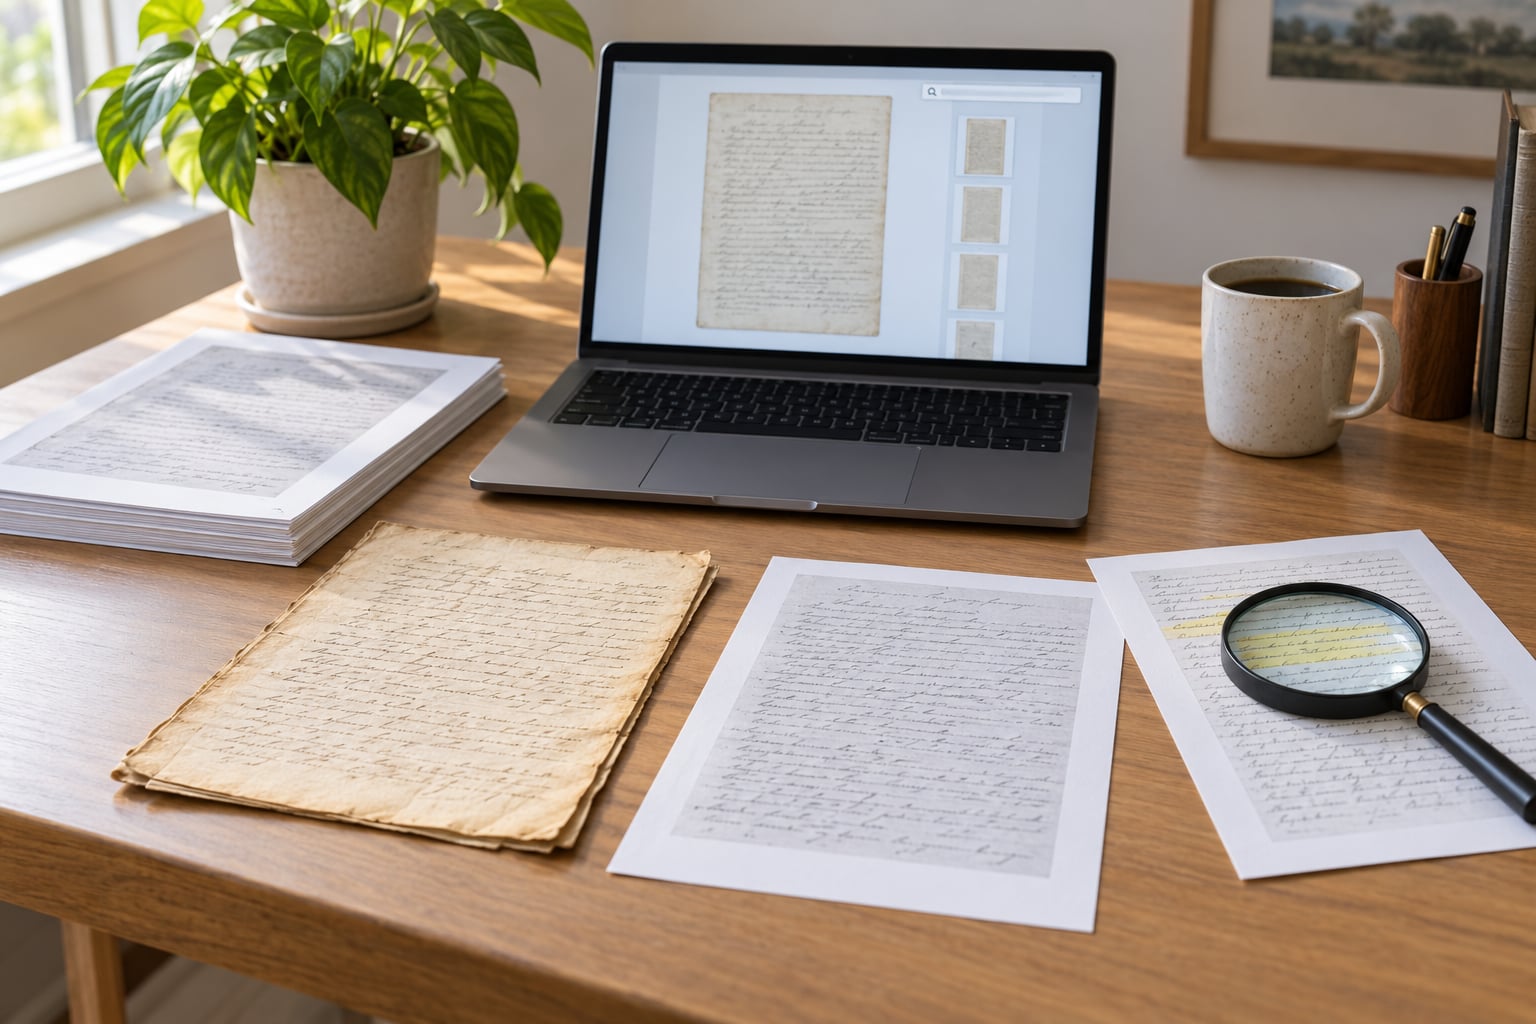
To OCR scanned documents for reporting, keep an untouched master of every scan, run optical character recognition on a working copy in Adobe Acrobat Pro or a local engine like Tesseract, then verify every name, number and quotation against the page image before you use it. A single scanned PDF can go from an unquotable picture to a searchable, citable source file in about ten minutes. The OCR part is the easy half. Accuracy, provenance and handling sensitive material are where stories get burned.
This guide walks the full workflow for journalists and researchers: preparing the scan, running recognition, exporting text, checking the output, and handing off a file you can defend in an email exchange with a records office or an editor.
Table of Contents
- What You Need
- Step-by-Step
- 1. Preserve and catalog the original scans
- 2. Prepare scans for reliable recognition
- 3. Run OCR and create a searchable PDF
- 4. Export plain text while retaining page references
- 5. Verify names, numbers, quotations, and tables
- 6. Correct text without changing evidentiary meaning
- 7. Protect, cite, and hand off the reporting file
- Common Mistakes
- Frequently Asked Questions
- Can OCR accurately read handwritten notes for reporting?
- How do I OCR a scanned document written in more than one language?
- What is the best file format for sharing an OCR’d document?
- Do OCR confidence scores prove that extracted text is correct?
- Can journalists quote text directly from an OCR result without checking the scan?
- Conclusion: Verify Before You Report
What You Need
The essentials are unglamorous, and having them upfront saves an afternoon of rework.
- The original scans. Whatever the office, court or agency sent you, plus the email or request that came with them.
- A machine. Any recent laptop will do; a faster processor mainly means shorter waits on a large batch.
- Adobe Acrobat Pro, or another capable OCR tool. Acrobat Pro has OCR built in and works on Windows and macOS.
- Tesseract, optionally, for repeated or large batch jobs from the command line.
- A secure working folder with access limited to the people who need it.
- A metadata note recording source, date received and page count.
- A text editor or spreadsheet for the verification pass.
One caveat on the instructions below. They follow the current subscription release of Adobe Acrobat Pro on Windows and macOS, and Acrobat renames menus between versions, so a label may read slightly differently on your machine. The setting names matter more than the exact position.
The second caveat matters more. Do not upload confidential documents to a service your outlet has not approved. Embargoed filings, source-protected material and unpublished court records stay on hardware you control. If you are unsure whether a tool is cleared, ask your standards editor before running anything.
Step-by-Step
Seven steps, in order. Each one tells you what to do, what to expect, and how to tell it actually worked.
1. Preserve and catalog the original scans
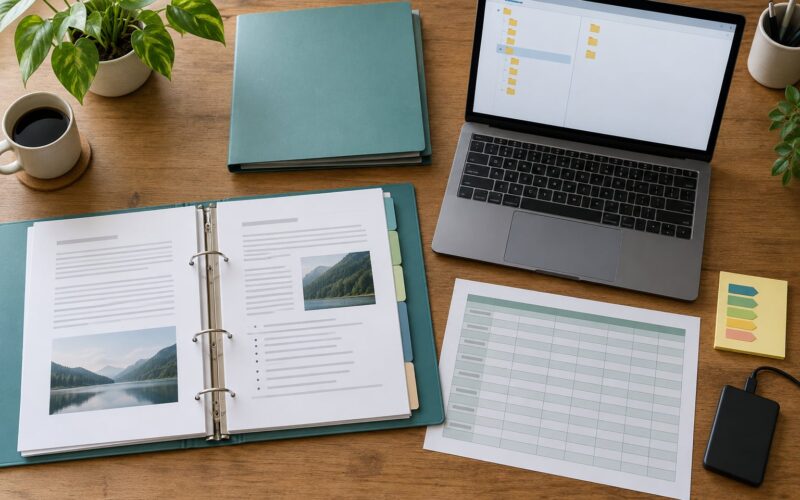
Make an untouched master copy first, and do all OCR work on duplicates. Name files predictably: agency, record type, date received, and a page range, such as county-contracts-received-p03.pdf. In a separate log, record the source, the person or office that supplied it, the date received, the page count, the file format, and how it arrived, by email, portal download, or post.
Why this matters: the moment you correct a typo in the OCR text, you want to know exactly which source file and which page it came from. You also want the scan to remain the record of what was actually provided. If it worked, you can point to any sentence in a story and produce the page image behind it in seconds.
2. Prepare scans for reliable recognition
A clean page is upright, evenly lit, legible, and free of obstructions. In practice that means checking resolution, orientation, cropping, page order, contrast, shadows, skew, and any staples or punch holes sitting in the margin.
Scan at 300 DPI or higher, greyscale or colour. Colour helps when the document contains stamps, highlighted passages or red ink that carries meaning. Save as TIFF or PNG rather than JPEG; JPEG compression smears the edges of small characters and quietly costs you accuracy. Deskew pages that are rotated even slightly. Run contrast enhancement on faint or yellowed paper.
Acrobat’s Edit PDF and Scan and OCR tools handle most of this without destroying anything: rotate, split, crop, reorder, enhance and combine pages while the document stays protected. Avoid converting a sensitive record into a flattened image with no text layer and no access controls.
If it worked, opening the file at 200 percent shows evenly dark text on a clean background, with no grey band down the side and no characters cut at the edge.
3. Run OCR and create a searchable PDF
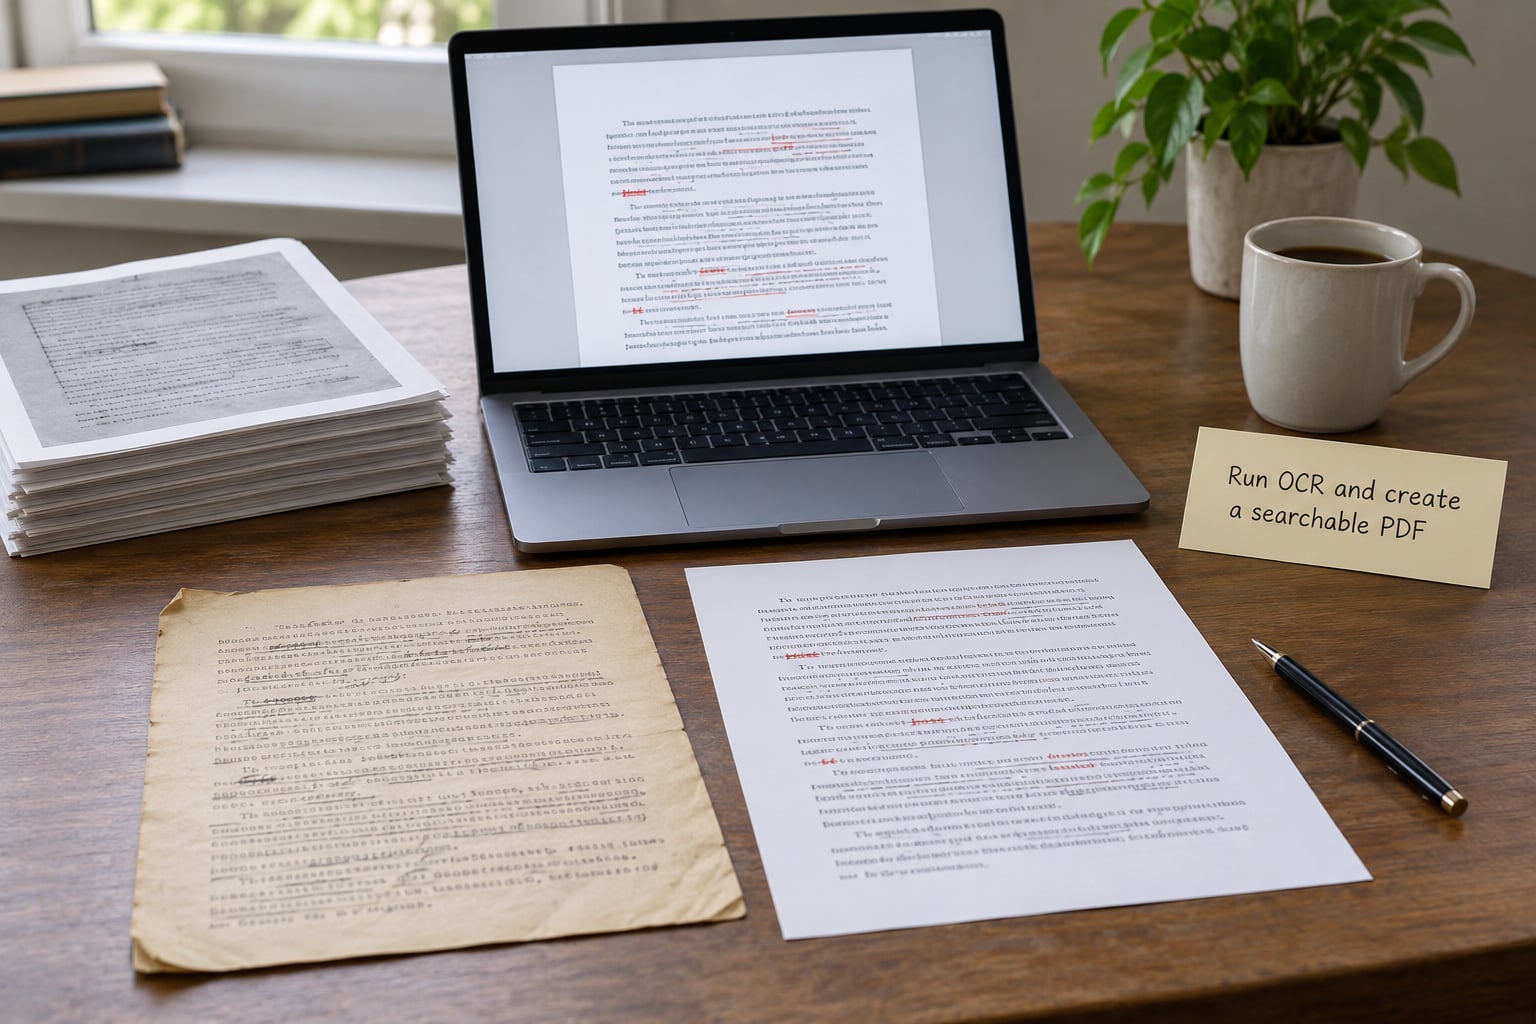
In Acrobat Pro, open the working copy, choose Scan and OCR, then pick Recognize Text. Set the scope to In This Document so the tool does not wander through other files. Confirm the document language matches the source, which matters for anything outside English. Then use Save, choosing to keep the page images visible while adding the text layer beneath them.
How to tell it worked: try to select a word with your cursor and highlight it. If you can select text, run a search for a name, a date or a figure you already know is on the page. The search should return hits on the page you expect. A file that returns zero results for a term you can plainly read means recognition failed, whatever the tool reported.
4. Export plain text while retaining page references
A searchable PDF is the master. The plain text export is your working copy for searching, highlighting and data entry. Use it for counting mentions, sorting quotes and pasting passages into a spreadsheet.
The trick is keeping the link back to the page. Preserve page breaks in the export so each line still has an obvious home, and keep the searchable PDF open in a second window as the page-level reference. If your tool collapses everything into one unbroken block, insert page markers yourself before you start transcribing.
For large batches, Tesseract from the command line is worth the setup time. Wrapped in OCRmyPDF, it processes a folder of scans in one pass and produces the same kind of searchable PDF. Be realistic about the difference: Tesseract gives you no page-aware export or table structure unless you ask for it explicitly, so its output needs more shaping than Acrobat’s before it is analysis-ready.
5. Verify names, numbers, quotations, and tables
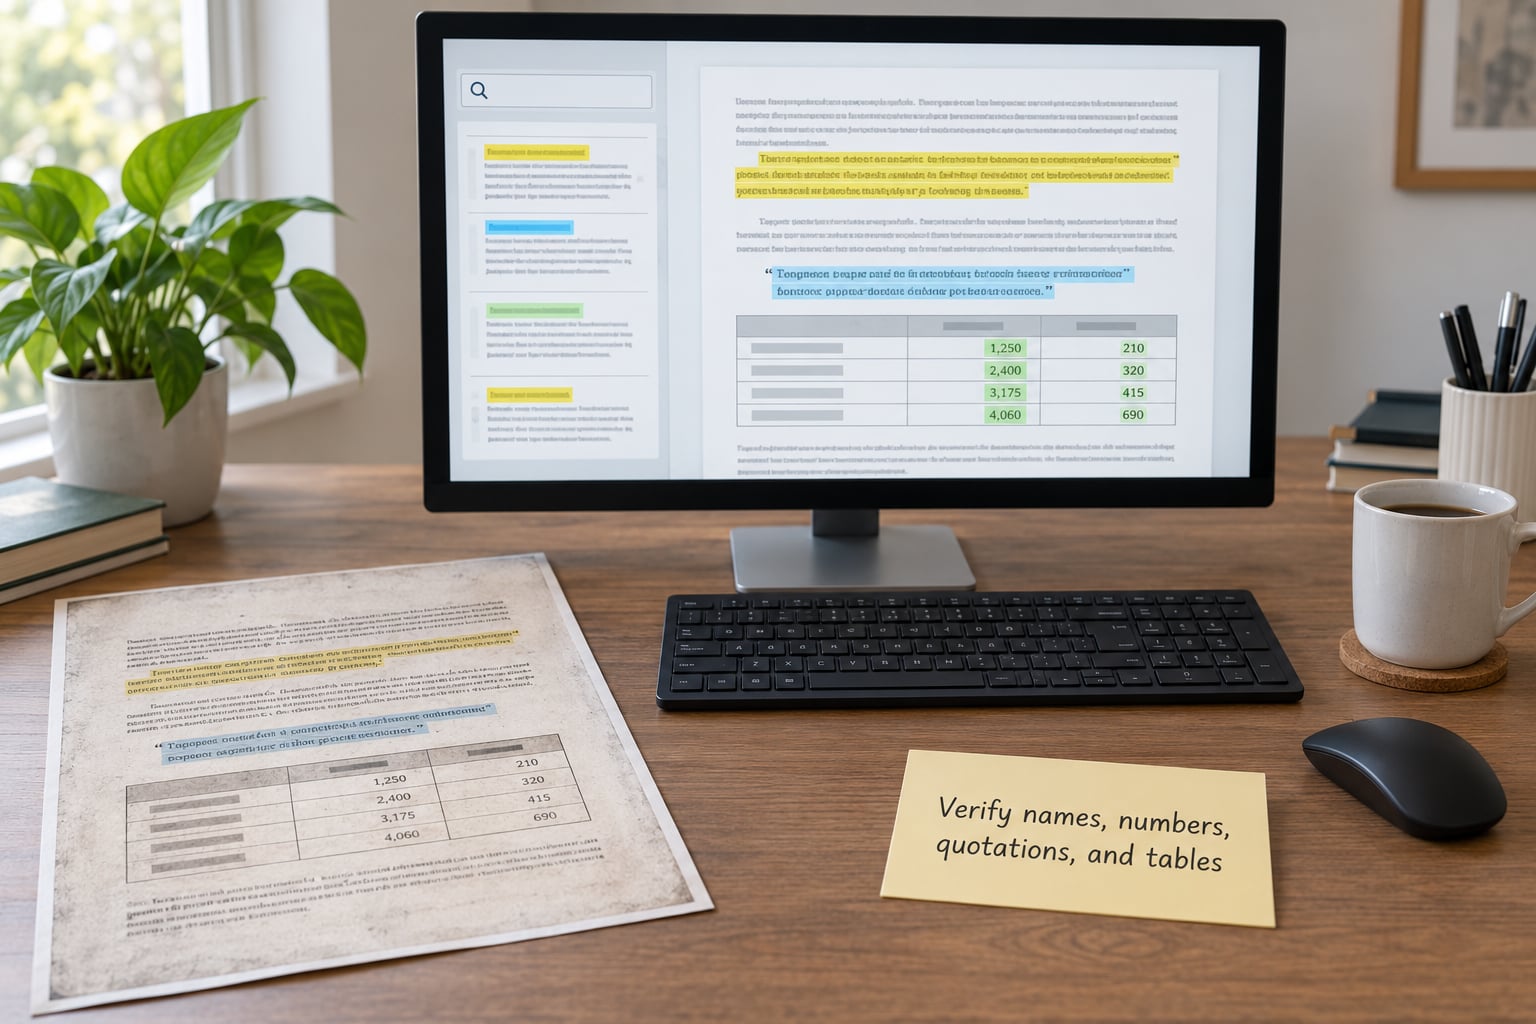
This is the step that separates usable reporting from a correction request, so give it real time. Work in two passes: the first for names, titles and dates, the second for figures and quotations.
In pass one, zoom in on every proper noun. OCR confuses similar shapes constantly, and small caps surnames, initials and honorifics go wrong more often than you would expect. Check job titles and agency names against your notes, not against your memory.
In pass two, verify every monetary amount, percentage, date range and tally. Confirm the decimal point survived, that a minus sign is a minus sign and not a dash, and that a percentage of what base has not shifted between columns. Read every quotation against the scan character by character, including quotation marks and attribution lines. For tables, check that rows and columns still line up and that a figure from one column has not migrated into another.
Pay particular attention to text near stamps, seals, signatures and handwriting, where recognition quality drops sharply. The rule I work to is simple: every fact used in reporting traces back to a specific page image, not to the extracted text alone.
6. Correct text without changing evidentiary meaning
Fixing recognition errors is fine. Quietly rewriting meaning is not. When the text is clearly a misrecognition, correct it and note the change in your log. When a passage is genuinely ambiguous, mark it rather than guessing, and attribute the uncertainty in your notes if the point matters to the story.
The distinction matters for numbers especially. A decimal point dropped in a financial table, a date shifted by a day, or a name spelled two ways can change what a document says. If you cannot resolve an ambiguity from the scan, corroborate it with a second source or describe it with appropriate hedging.
Keep editorial notes visually separate from source text. Bracketed insertions, tagged comments and a corrections log let a colleague tell what the document said from what you added.
7. Protect, cite, and hand off the reporting file
Apply access controls to the working folder, and encrypt the file if it contains personal data or source-identifying detail. Redact anything the story does not require, since less copied text is less leaked text. Follow your outlet’s retention rules on deletion, and delete working copies of sensitive material once the reporting file is archived.
Run one final search-and-compare check across the finished text before handing it off. Then cite the original document rather than the OCR copy: the document title, issuing body or author, date, page number, your file name, and the collection details including the request reference if there was one. Readers and editors should be pointed to the scan as the source and the searchable file as a transcription aid.
Common Mistakes
These are the failures I see most often, each with its warning sign and fix.
- Low-resolution scans. Warning sign: garbled words and dropped characters on a clean-looking page. Fix: rescan at 300 DPI or higher from the paper original, not from the bad scan.
- Skew and poor contrast. Warning sign: recognizer confidence that varies wildly page to page. Fix: deskew and run contrast enhancement before recognition.
- Running OCR repeatedly on the same file. Warning sign: duplicated or overlapping text layers. Fix: always start from the untouched master copy.
- Skipping language selection. Warning sign: accent marks mangled or an unusual script replaced with nonsense. Fix: set the correct language each time, and split mixed-language batches.
- Losing page and table structure. Warning sign: figures that shift rows when you paste them into a spreadsheet. Fix: keep the searchable PDF as the page reference and rebuild tables with explicit row and column verification.
- Trusting automatic spelling correction. Warning sign: names silently normalised into dictionary words. Fix: disable spell check on source text and proofread names by eye.
- Overwriting originals. Warning sign: a document that no longer matches what the agency sent. Fix: masters stay read-only; corrections happen only in working copies.
- Mishandling confidential material. Warning sign: a file that has been through a browser-based converter. Fix: keep source-protected documents on local tools throughout.
- Quoting OCR without checking the scan. Warning sign: a quote that reads well but does not appear on the page. Fix: verify every quotation against the image before it goes anywhere near a draft.
Frequently Asked Questions
Can OCR accurately read handwritten notes for reporting?
Only sometimes. Modern OCR engines trained for machine-printed text often mangle handwriting, cursive and marginal notes badly, and accuracy on stamps and signatures is lower again. For a short annotation that matters to a story, read it yourself against the scan. Use OCR output on handwriting as a hint for searching, never as the basis of a direct quotation.
How do I OCR a scanned document written in more than one language?
Set the recognition language to match each page rather than forcing one language across the file. Mixed-language documents are best split into single-language sections, recognised separately and then recombined with page markers. Characters outside the Latin alphabet, and right-to-left scripts, benefit from engines with broader training such as PaddleOCR. Check the first page carefully before trusting a long batch.
What is the best file format for sharing an OCR’d document?
Share a searchable PDF when readers need to read and search the document, since it keeps the page image and the text layer together. Use plain text or CSV for analysis and data entry, where the extra fidelity of a PDF gets in the way. For archival purposes keep TIFF or PNG masters alongside the searchable PDF, because those lossless formats preserve the original page image.
Do OCR confidence scores prove that extracted text is correct?
No. A confidence score describes how sure the engine was about a given character, not whether the reading is right. Scores often stay high on a clean printed page containing a name the tool has never seen, and drop on text that reads perfectly well. Use scores to flag passages for review, never to certify accuracy. Verification against the scan image is the only real check.
Can journalists quote text directly from an OCR result without checking the scan?
Treat OCR output as a draft of the document, not as the document. Misspellings, dropped quotation marks, shifted decimal points and merged table cells all survive long enough to reach a published paragraph. Check every quotation character by character against the page image, and keep the searchable PDF beside you while you do it. That check takes seconds per quote and prevents the correction email.
Conclusion: Verify Before You Report
Start by preserving the source, creating a working copy and running recognition on the copy. Ten minutes of setup is what makes the rest of the process traceable.
OCR speeds up retrieval and transcription, and nothing more. It does not verify authenticity, authorship or meaning, and it will not tell you that a page is missing or that a figure sits in the wrong column. Every critical passage belongs back on the page image before it belongs in your story.