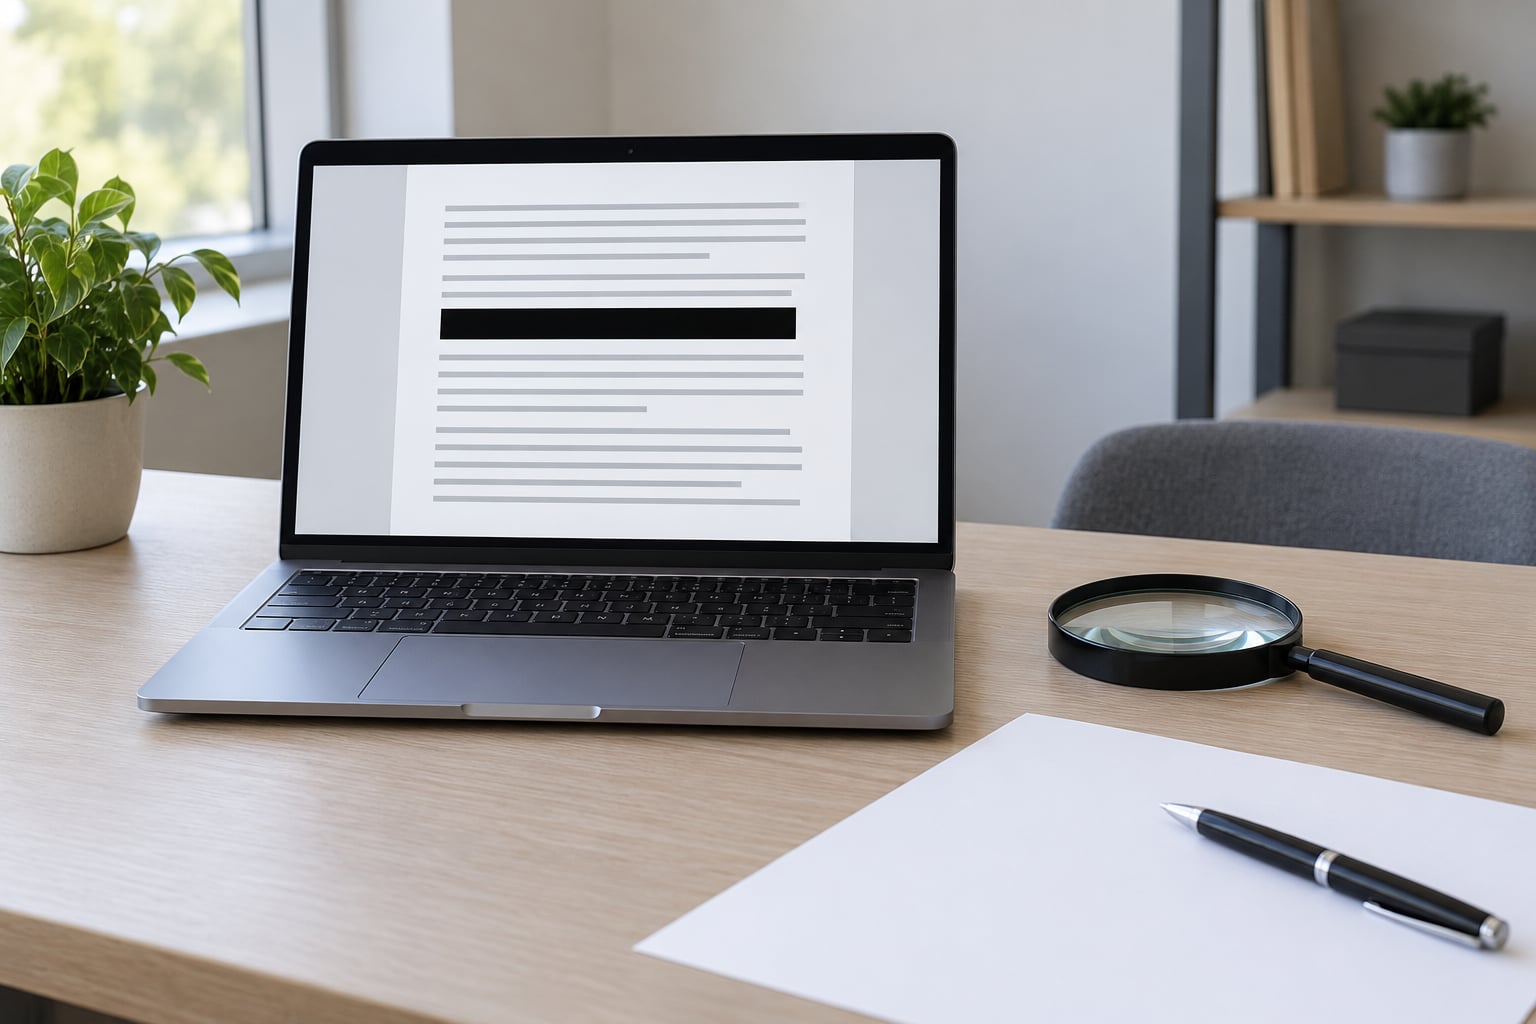
Drawing a black rectangle over text does not delete it. A PDF keeps text and graphics as separate objects, so a shape laid on top hides nothing you can still search, select or copy. To redact a PDF safely you need a dedicated redaction function that removes the underlying characters, plus a strip-down of hidden content and a verification pass before the file leaves your desk.
For a single page it takes a few minutes. For a 200-page records release, budget an hour plus a second person’s review, because verification, not covering, is the part that goes wrong.
The failure mode is rarely a determined attacker. It is a colleague copying a quote out of your published file, a reader pressing Ctrl+F, or a search engine indexing the page and surfacing a name a source asked you to protect. Once the file is out, “nobody would have looked” is not a defence.
What You Need
Five things, and only one of them is software.
- An untouched original. Keep the file you received exactly as it arrived, and never edit it. If you do damage it, the source is gone.
- A working copy. Duplicate it, rename the copy so it is obviously not the original, and do every edit there.
- An editor with a real redaction function. Desktop tools such as Adobe Acrobat Pro, Foxit, PDF Expert and OnlyOffice all ship one. Browser-based redactors vary: some genuinely delete characters, some only draw a shape. Check the tool’s own documentation for how it exports the file before you trust it with a source document.
- A written scope. The specific names, addresses, phone numbers, account figures, case references, dates of birth and identifying context to remove. Write it down, because you will check against it later.
- A way to verify that is independent of the editing tool. A plain text editor, a different PDF viewer than the one you edited in, and one colleague who did not make the edits.
Two things you might assume count as tools do not. A screenshot tool, a preview-mode markup pen and the annotation features built into desktop and mobile viewers all add marks on top of content. Nobody is going to hand you a file where those marks have removed anything.
How to Redact a PDF Safely Without Leaking Data
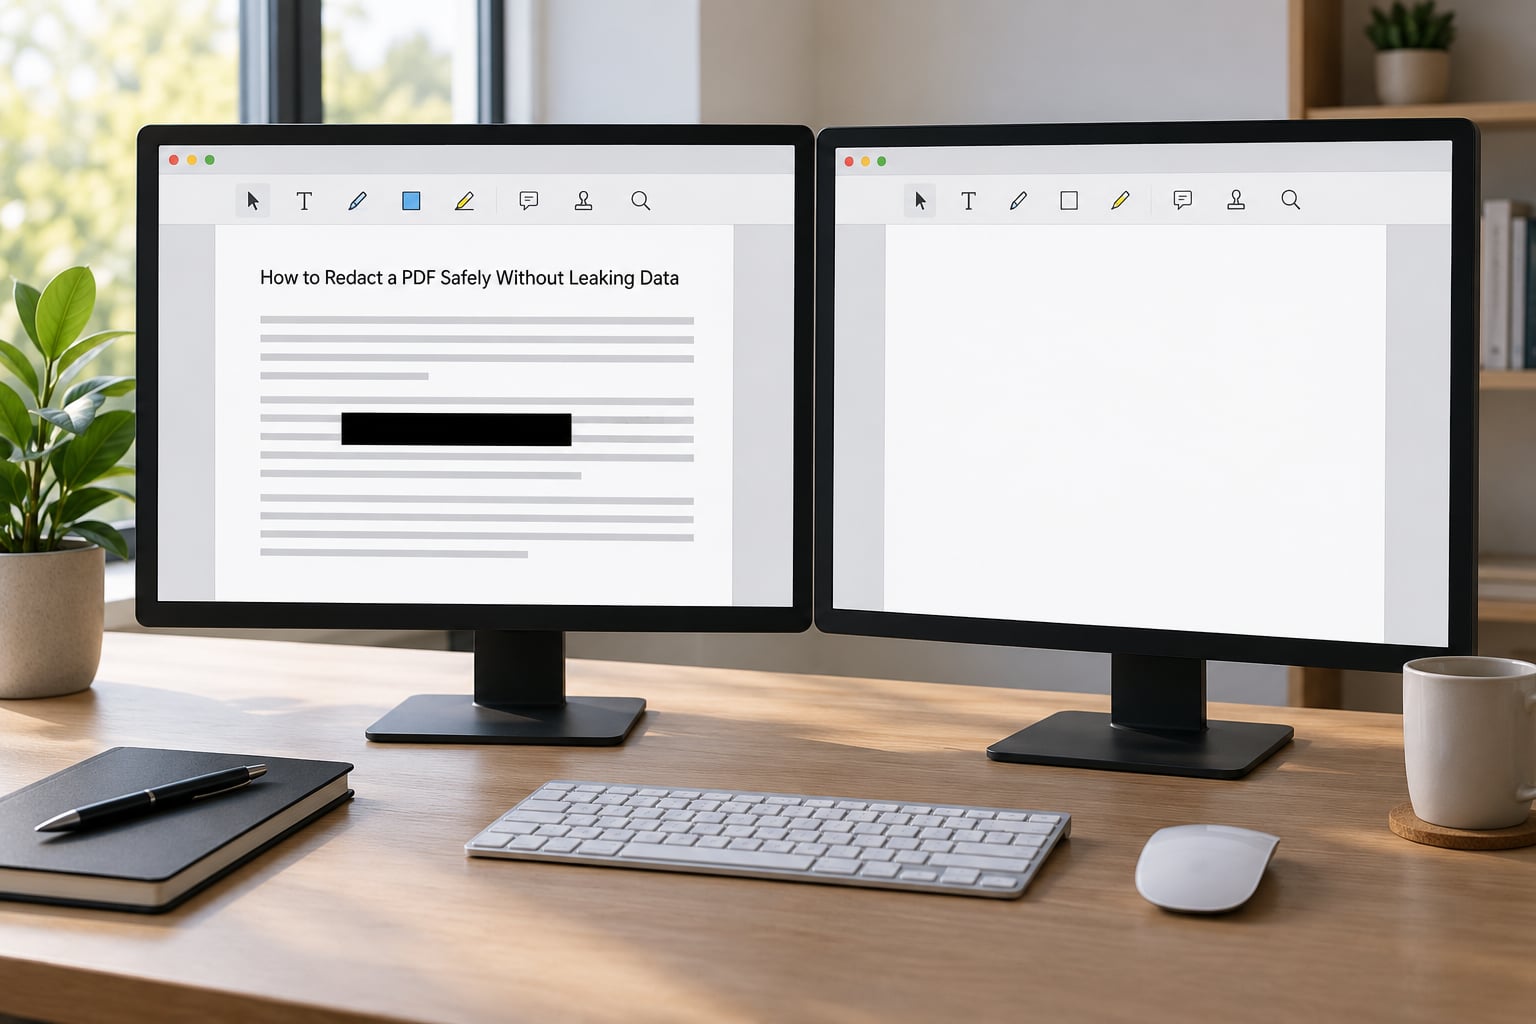
The whole job has three parts, and skipping any one of them leaves a path to the material you meant to remove. Apply permanent marks. Remove the hidden content that page-level redaction never touches. Then verify the result in software that has no memory of your edits.
How to Redact a PDF Safely in a Desktop Editor
Start with why the usual shortcut fails, because it explains everything else. A PDF page is a list of drawing instructions. Text characters go in as one set of objects, shapes go in as another, and the file records the order they were drawn in. A black rectangle is simply a later instruction, painted on top. Nothing about it changes the characters underneath, which remain in the file, remain searchable in-document, and come back out the moment somebody selects and copies that region.
The same applies to a highlight, a white shape over a name, and to deleting a text object with a direct-edit tool. Highlighting changes colours. A white shape hides by contrast and can be reversed by selecting underneath it. Deleting a text object with a direct-edit command often leaves the surrounding characters intact and the file structure untouched, so a re-open or a conversion brings the text back.
The correct routine, whatever the tool is called:
- Open the working copy and locate the material using the editor’s search function, so you can confirm you found every instance rather than every visible one.
- Select the redaction tool. In the major desktop editors it sits under the tools or protection menus, and the exact label moves between versions, so look for the word “redact” rather than trusting a remembered path.
- Mark the text. Extend the mark a few points past the last character on each side so a shifted line or a partially visible character cannot peek out.
- Apply. A real redaction removes the text objects and inserts a filled rectangle in their place. If the tool offers a search-and-redact or pattern option, use it for names and account numbers you know appear repeatedly.
- Export or save as a new file. Do not save over the original, and do not assume a save is a redaction; the redaction only takes effect once the tool rewrites the file.
One more caution about batch work. A tool that redacts all matching instances in a second pass will catch occurrences the eye misses, which is useful. It will not catch the name that appears only inside an image, a stamp, a scanned signature block or a fax header.
How to Redact a PDF Safely When the File Is Scanned
Scans behave differently, and the difference is good news in one direction and bad in another. With no characters on the page, a solid mark over the pixels genuinely removes the pixels, so covering works here in a way it does not for a text page.
The complication is OCR. Many scans arrive with an invisible text layer added by optical character recognition, so the page looks like a photo to your eyes while the file still holds selectable, searchable characters sitting invisibly on top of the image. Redact the image region and you may have removed nothing searchable at all. That is the specific problem behind most “my redacted scan still shows the text” complaints.
The decision rule:
- No text layer. Redact the visible image region with a permanent mark, and extend it past the block edges.
- Text layer present. Flatten the page first so the OCR characters are merged into the image, then redact the region once. Marking only the image leaves the searchable copy intact.
- Text layer you need to keep searchable elsewhere. Redact the image region and delete the corresponding text objects separately, then verify both.
How do you tell which you have? Try selecting the redacted area and copying it. Text appears in your clipboard if there is a text layer. Also run a search for a word you know is in the redacted block; if the search finds a hit on that page, the characters are still there. A long press or drag across a flat image usually highlights the whole picture instead, which is the clue that you are looking at pixels only.
Finish by printing the redacted file to a new PDF from a fresh viewer and reading the printed page. Printing goes through a different rendering path than screen display, and a duplicated or offset layer often shows up on paper when it looks clean on screen.
Verify That the Redaction Is Really Gone
This is the step people skip, and it is the step that proves the work. Run it on the exported file, not on the document still open in your editor.
- Open it in a different viewer. Different readers interpret layers and annotations differently, and a file that looks clean in one can expose something in another.
- Select all, copy, paste into a plain text editor. Whatever appears in that document is still in the file. This is the single most useful test there is.
- Search the pasted text for every item on your scope list. Type a distinctive fragment of each name, number or reference, not the whole thing, so partial matches still surface.
- Zoom to 400 percent on each mark. Look for slivers of characters at the edges, and for black marks that are slightly narrower than the text underneath them.
- Open document properties. Check the author, creator, company, title, subject and keywords fields, plus any comments, tracked changes, form values, bookmarks and attached files.
- Read the filename and the subject line you plan to send it with. A file called “SOURCE_NAME_statement.pdf” leaks the name you just spent an hour covering.
If the copy-and-paste test comes back clean and the properties panel is empty, you are in good shape. If it does not, go back to the editor and find the leftover text object, because that means the mark was cosmetic.
Step-by-Step
Here is the full sequence for a document you intend to publish, send to a lawyer, or release in response to a records request.
Step 1: Work on a Copy and Define the Redaction Scope
Duplicate the original, give the copy a neutral working name, and confirm the original is still intact and openable before you touch anything else. Then write the redaction checklist: every person named, every address, phone number and email, every account or case number, every date of birth, and any contextual detail that would identify a source even without a name, such as a job title plus a department or a street the report describes.
How to tell it worked: you have a list, and the original file is byte-for-byte what you received. Which check stops disclosure: scope drift, where a detail nobody thought sensitive gets published.
Step 2: Inspect Every Page and Layer
Work from page thumbnails rather than page one, because a buried attachment or a second copy of a contract is easy to miss on a linear read. Check headers and footers on every page, since page furniture often carries a name or a file reference. Open the attachments panel, the annotations panel, the bookmarks panel and any form fields, and look for comments left by a previous reviewer.
On scans, confirm whether a text layer exists. If the file came through an OCR or archiving system, assume it does until a copy test says otherwise.
How to tell it worked: every panel that lists hidden content has been opened and read. Which check stops disclosure: hidden data, which survives every page-level redaction.
Step 3: Apply Permanent Redaction Marks
Use the redaction function, not a shape, a highlighter or a text-deletion command. Work from your checklist item by item, and use the tool’s search-and-redact option for values you know repeat across the document. Overshoot each mark slightly at the edges. Avoid leaving a clue about the removed length, since a carefully sized mark tells a reader how much text was there.
Save the redacted result as a separate file, leaving the pre-redaction copy alone as your reference.
How to tell it worked: selecting the redacted region yields nothing to copy. Which check stops disclosure: recoverable text under an apparently solid mark.
Step 4: Remove Document Metadata and Hidden Content
Open document properties and clear the author, creator, company, subject, title and keywords fields. Remove comments, tracked changes and annotations. Delete any embedded attachments, since a released contract often travels with an earlier draft attached to it. Strip bookmarks that carry names in their labels. If your tool offers a sanitize or document inspection command, run it and read the report rather than accepting the defaults without looking.
For a release to a court, a regulator or a records officer, save a redaction log alongside the file: what was removed, from which pages, and by whom. That log is often the only thing that answers a later challenge about the release.
How to tell it worked: properties are empty, attachments and annotations are gone. Which check stops disclosure: metadata and earlier revisions, the two leaks that survive a flawless page-level redaction.
Step 5: Test the Redacted File Before Sharing
Close the file, then reopen the exported copy in a different reader. Run the full verification routine: select all, copy, paste into a plain text editor, and search the pasted text for every item on the checklist. Zoom in on each mark. Print to a new PDF and read the printed version. Compare the page count against the original to catch a page that was dropped or reordered by mistake.
Do this on a larger screen if you possibly can. A 10-inch screen is workable for redacting a paragraph and a poor place to confirm that a nine-character account number is really gone.
How to tell it worked: the pasted text contains none of the redacted terms and the page count matches. Which check stops disclosure: everything the editor might have left in a layer you did not know existed.
Step 6: Have a Second Person Review It
Hand the exported file and your checklist to a colleague who made none of the edits. Ask them to work from the checklist rather than from your memory of the document, and ask them to run the verification routine themselves. A second pair of eyes catches the things the editor is now blind to, including a redaction that was applied to the wrong instance of a repeated name.
For a court filing or a formal response, keep the redaction log, the second reviewer’s name and the date. For a source document, that person may also be the person who confirms the released file does not identify them or anyone who spoke to them.
How to tell it worked: a named second person has signed off against the checklist. Which check stops disclosure: single-reviewer blind spots, which is how a careful redaction still ships a real name.
Common Mistakes
Almost every redaction failure is one of these, and each has a specific fix.
- Using a highlight or shape tool. It changes the picture, not the file. Fix: use the dedicated redaction function and confirm with a copy-and-paste test.
- Deleting text with a direct-edit command. Many editors leave the file structure recoverable. Fix: redact properly, then export rather than saving in place.
- Forgetting a duplicated text layer on a scan. The image is covered and the OCR characters are still searchable. Fix: flatten first, then redact, then search.
- Overlooking metadata and attachments. The author field, an attached earlier draft or a bookmark label can carry a name the pages no longer show. Fix: run the sanitize pass in Step 4 every time.
- Sending the original file by mistake. The attachment slot and the filename both matter. Fix: attach only the redacted export, and check the filename and the message subject line.
- Trusting visual inspection alone. Your eye reads the page, not the object list. Fix: select, copy, paste and search. It takes under a minute.
- Using an untrusted upload service. A browser tool that opens your source document on a server has now handled material you promised to protect. Fix: use a desktop or offline tool for anything involving a source, and check what a service’s privacy terms say before you upload.
- Using a built-in viewer or screenshot tool. Markup pens, preview-mode annotations and the Windows Snipping Tool add marks on top of content, which is why questions about using them for secure redaction come up as often as they do.
One structural point from practitioners: teams releasing documents describe the same gap over and over. They edit originals by hand and wish for a repeatable process that produces a separate safe version. On a newsroom level that means an approve, redact, verify, rename, log sequence, not a per-person habit.
Frequently Asked Questions
Can I redact a PDF so text cannot be uncovered?
Yes, but only with a tool that deletes the underlying text objects rather than covering them. Apply the redaction, export the file, then select all, copy and paste into a plain text editor. If the removed text appears in that document, it was never removed. Add a metadata scrub and check attachments and comments, because those survive page-level redaction in most files.
How do I black out text on a PDF?
Do not black it out with a shape, a highlight or a white cover. Those add a graphic on top of the text and leave the characters fully readable to anyone who selects and copies the area or converts the file to another format. Use the redaction tool built into your editor, extend the mark slightly past the text, export the file, and verify with a copy-and-paste test.
Can I redact a PDF for free?
Yes, with care. Several open-source and free desktop editors include a working redaction function, and some free browser tools genuinely delete text rather than drawing over it. Check the tool’s documentation for how it exports before you rely on it. Free does not mean safe, though: the verification routine and the metadata scrub still have to happen, and avoid uploading anything involving a source to a service you do not control.
Is there a way to redact text in a PDF?
There is, and the way to tell a real redaction tool from a drawing tool is simple. A genuine redaction deletes the text objects and replaces them with a filled shape. A drawing tool leaves the text in the file. Redact with the real function, export to a new file, then select all, copy, paste into a plain text editor and search for the removed terms. Nothing found means it worked.
Does flattening a PDF remove hidden text?
Flattening merges annotations, form fields and layers into the page content, and on a scanned page it merges an OCR text layer into the image. That makes hidden content visible and fixed rather than deleting it. Flatten first, then redact the region, then verify. Flattening on its own is not redaction and should never be treated as a sanitising step on its own.
What should I do if I accidentally shared an unredacted PDF?
Act fast and in order. Ask the recipient to delete the file and confirm in writing, stop any link, and request takedown if it was published. Then find out what was actually exposed, notify the affected source or data subject where there is a legal duty to do so, and tell your editor or legal contact rather than handling it alone. Keep a record of what was sent, to whom and when.
Start with the copy, not the editor. Duplicate the file, write down what has to go, redact with a real redaction function, strip the metadata and attachments, then select all, copy and search the pasted text before anyone else touches it. That last minute is the difference between a redaction and a drawing, and it is the part most worth never skipping.