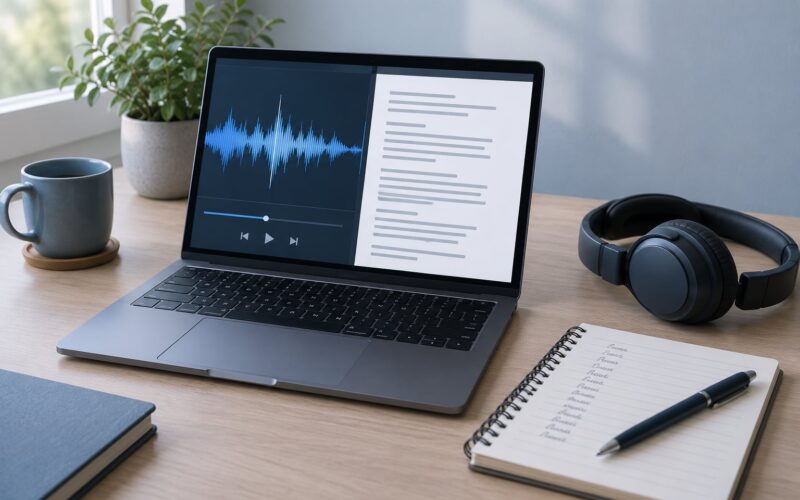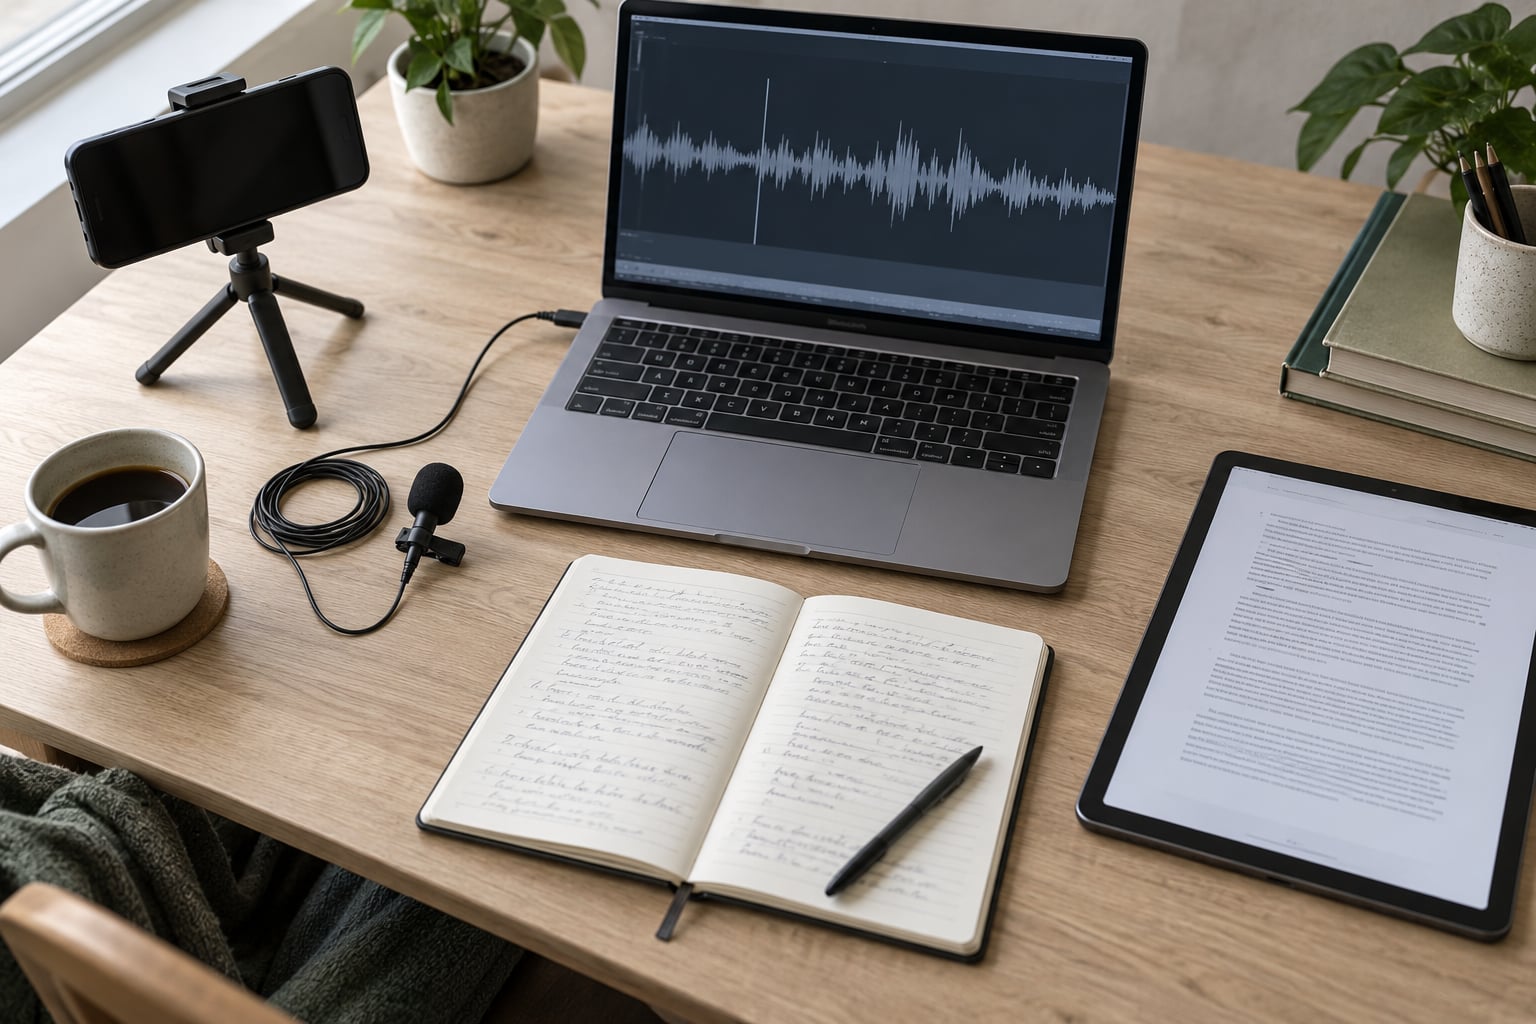
Transcribing an interview quickly means turning recorded audio into an accurate, speaker-labelled, time-stamped written record using a clean recording, an automated speech-to-text draft, and a focused human editing pass. You do not type it by hand. For a 50-minute interview, the whole job can take about an hour once your setup is right, and the difference between an hour and three hours is decided mostly before you press record.
This workflow is built for reporters, editors, podcasters and researchers. It assumes you need quotes that survive a fact-check, not a rough summary. The stages run in order: prepare, capture, draft, edit, verify, deliver. Each stage has a job, and each one either saves you time or quietly costs you an hour of re-listening later.
- Test your microphone and levels for thirty seconds before the interview starts.
- Name the file and note the date, subject and topic the moment you stop recording.
- Ask each person to state their name and role on tape so speaker labels resolve cleanly.
- Run the audio through a speech-to-text tool with language, diarization and timestamps set.
- Edit for meaning and fix recognition errors rather than rewriting the speaker’s voice.
- Verify every name, number, title and quotation against the audio before it leaves your desk.
Table of Contents
- What You Need to Transcribe Interviews Quickly
- Step-by-Step: From Recording to Publishable Transcript
- Step 1: Prepare the Recording Before the Interview
- Step 2: Capture Clear Audio and Useful Context
- Step 3: Run the First Transcription Pass
- Step 4: Edit for Meaning, Not Just Grammar
- Step 5: Verify Names, Quotes, and Ambiguous Words
- Step 6: Format and Deliver the Final Transcript
- Common Mistakes That Cost You Hours
- Frequently Asked Questions
- Conclusion
What You Need to Transcribe Interviews Quickly
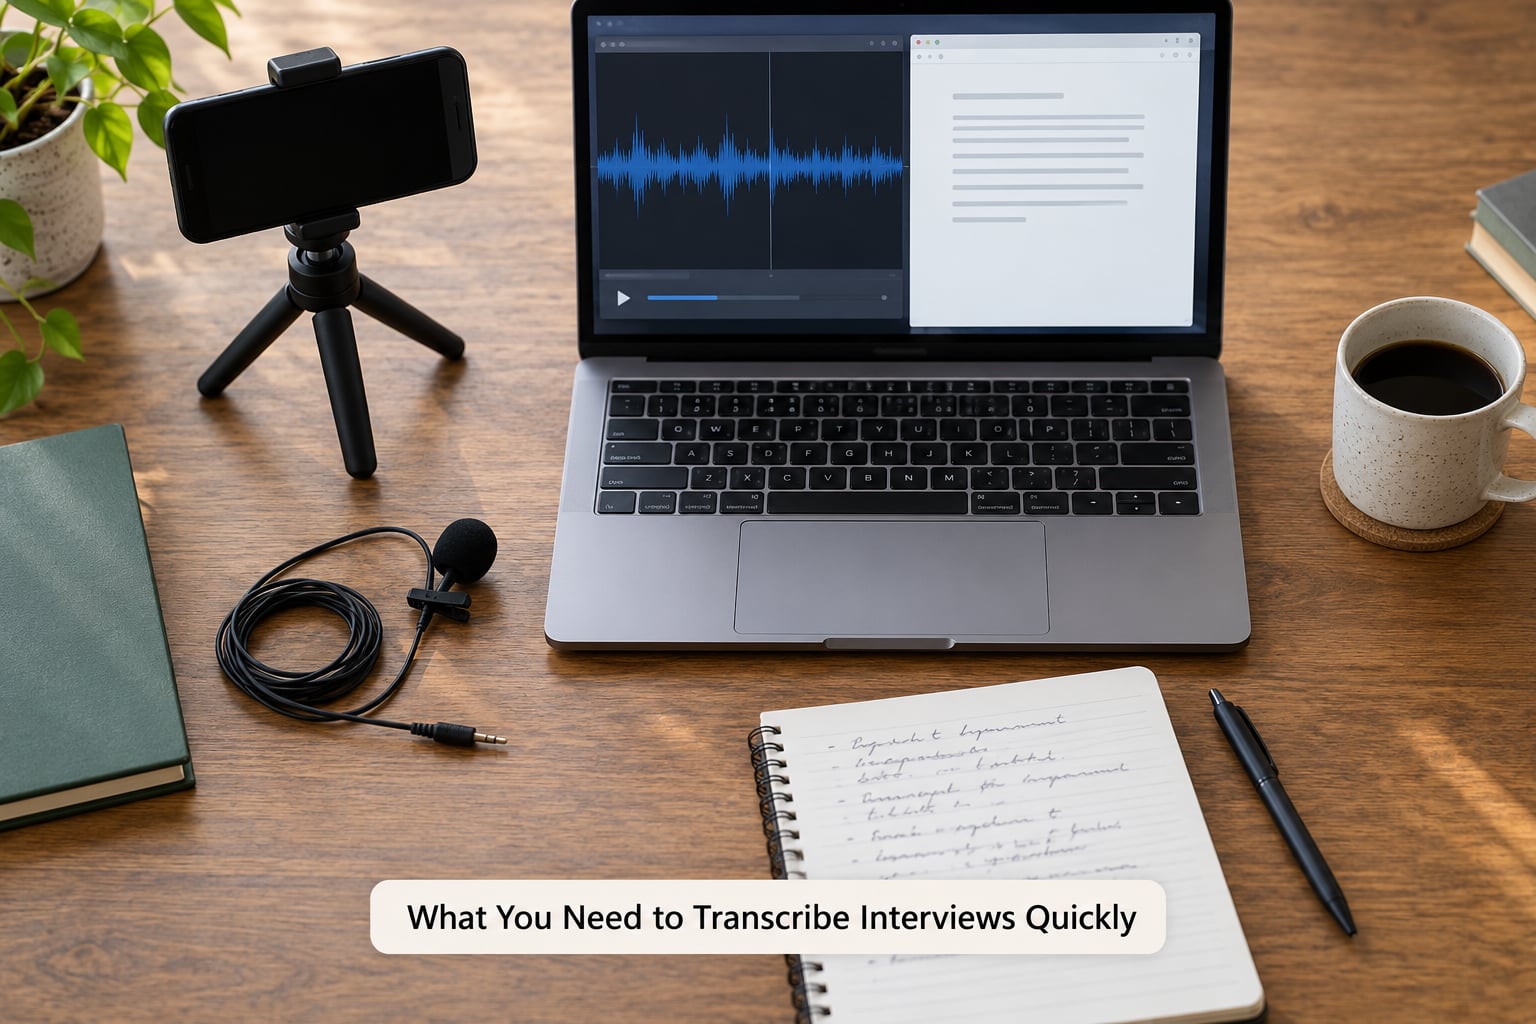
You need four things, and only the first one costs money in most newsrooms: a microphone that holds a voice clearly, storage that will not run out mid-interview, access to a speech-to-text service, and a verification habit you actually keep. Everything else is a preference.
Recording. A directional lavalier clipped to the subject’s collar beats a phone on the table every time. For a remote interview, a wired headset with a boom mic keeps the caller’s voice out of the laptop speaker and avoids the room echo that wrecks transcription. Test the level with ten seconds of live speech before you start.
Storage and battery. Check free space and charge before you travel. A 50-minute interview in uncompressed audio is a lot of megabytes, and a phone that switches to low-power mode at 12 percent will drop the recording you cannot redo.
Tool access. Any current speech-to-text service will do the first pass. What separates a workable one from a painful one is speaker diarization, timestamps, export to a format your editor uses, a custom vocabulary feature for recurring names, and handling of the language you actually record in.
Editing tools. A plain text editor with search is enough. Search is the whole trick: once the interview is text, you find the quote in seconds instead of scrubbing an hour of audio.
Working solo, sign up for one service with a free monthly allowance and learn it properly. Working in a newsroom, buy a shared seat rather than individual accounts so editors, producers and fact-checkers work from the same transcripts and the same naming convention.
Step-by-Step: From Recording to Publishable Transcript
Step 1: Prepare the Recording Before the Interview
Preparation decides how much work the transcript needs later. Ten minutes here routinely saves forty minutes of editing.
Record ten seconds of the room and play it back with headphones. If you can hear traffic, an air conditioner or a fluorescent hum, the transcript will carry that noise forward and the recognizer will start guessing. Move closer to the subject, or move the phone, before you start.
Create the file name before recording, not after. A pattern like YYYY-MM-DD_lastname_role_subject-topic sorts itself, tells a colleague what it is, and stops the recording being the only copy with context. Add a line of metadata to your notes now: date, location, subject, topic, and any prior commitments made on tape.
Tap the record button and then tap it again after a second or two. That double tap gives you a clear start marker, and a marker like a hand clap or a spoken “section two, housing policy” gives you jump points that survive even if the transcript’s timestamps drift.
Step 2: Capture Clear Audio and Useful Context
Placement beats software. Keep the microphone within about 20 centimetres of the mouth, angled slightly off-axis so breath noise lands beside it rather than straight into it, and never cover it with a scarf or collar.
Ask both people to give their full name and role out loud at the start. Something as simple as “this is Dana Okafor, deputy director of the housing office” gives the diarization something to attach to, and it gives you a spelling you can trust later.
Do not talk over your subject. Overlapping speech is the single most damaging thing for an automatic transcript, and a source who talks over a reporter usually stops talking over everyone a minute later.
If you are recording in person and on a call at the same time, keep both files. Use the device closest to each mouth as the master, and check the second file only when you need to confirm something the first one caught badly. Two-device setups are common; confusing yourself about which file is which is not.
Step 3: Run the First Transcription Pass
The first pass produces a draft, not a transcript. Set the language explicitly rather than letting it auto-detect, switch speaker diarization on, keep timestamps on, and save the raw output untouched as your reference copy before editing anything.
If a name, agency or technical term comes up repeatedly, add it to the service’s custom vocabulary list before you run the file. That single step fixes most of the errors you would otherwise hunt for by ear.
How long the first pass takes depends on the method you pick, and the four methods are not close.
| Method | Real-time ratio | Cost | Accuracy on names and numbers | Best for |
|---|---|---|---|---|
| Manual typing | About 3x audio length | Your time only | Highest, if you type carefully | Short quotes, court-grade verbatim |
| AI draft only | Roughly 0.1x | Subscription or free tier | Weak on proper nouns and jargon | Searching your own recordings |
| AI draft plus human edit | About 1x audio length | Subscription plus your time | High once checked | Everyday reporting with quoted material |
| Freelancer or agency | Not your time | Billed per minute of audio | High, worth requesting a second linguist | Legal deposition, multi-language, archive work |
The real-time ratio is simply how many minutes of work one minute of audio costs you. Typing at a realistic newsroom pace puts manual transcription near three times the audio length.
For the question most people actually search for, here is what a finished, checked transcript costs in time.
| Audio length | Manual typing | AI draft only | AI draft plus human edit | Freelancer or agency turnaround |
|---|---|---|---|---|
| 15 minutes | About 45 minutes | 1 to 3 minutes | About 15 minutes | 24 hours |
| 30 minutes | About 90 minutes | 2 to 6 minutes | About 30 minutes | 24 to 48 hours |
| 50 minutes | About 2 hours 30 minutes | 4 to 10 minutes | About 1 hour | 48 hours |
| 60 minutes | About 3 hours | 5 to 12 minutes | About 1 hour 10 minutes | 48 hours |
The AI column is processing time only, not a finished transcript. Nobody quotes straight from that column without checking it.
Step 4: Edit for Meaning, Not Just Grammar
Read the draft against the audio once, at speed, fixing recognition errors. Common failures are predictable: names spelled phonetically, numbers dropped or reordered, agency names flattened into nonsense, and two speakers merged into one paragraph whenever they talk over each other.
Leave filler words alone unless they mislead. A source saying “you know, I think the timeline is wrong” reads fine in a clean-read transcript, but removing “you know” everywhere changes the rhythm of how a person talks, and that rhythm is part of the quote.
Break long blocks into paragraphs by topic and question. A wall of unbroken text is unreadable and hides the sentence you need six weeks from now.
Be careful with grammar fixes that put words in the speaker’s mouth. If a source said “the council didn’t approve it”, do not tidy it into “the council did not approve it”, and never turn a rough sentence into a polished one attributed to them.
Step 5: Verify Names, Quotes, and Ambiguous Words
This is the step that decides whether your transcript is publishable. Work through a fixed list rather than hoping attention lands where it matters.
- Proper nouns. Every person, title, agency and place name, checked against your own notes.
- Numbers. Dates, figures, percentages and money amounts. These are where an auto-transcript most often fails and where an error is most embarrassing.
- Job titles and affiliations. A source who has moved jobs gets described correctly or not at all.
- Quotations. Any passage you intend to publish, verified word by word against the audio.
- Technical terms and jargon. Industry vocabulary, place names in the local dialect, acronyms.
- Thick accents and crosstalk. Segments flagged as low confidence, played back at half speed.
- Denied or on-record conditions. Words like off the record, on background or for attribution, noted at the moment they were said.
Work in ten-minute blocks with the transcript on one screen and a player on the other. Sampling is reasonable for your own notes, but anything that will be quoted gets checked in full.
Step 6: Format and Deliver the Final Transcript
Rename speaker labels from “Speaker 1” and “Speaker 2” to actual names and roles as soon as the draft appears. Every later reference improves, and you avoid searching for Speaker 2 six weeks later.
Keep timestamps. They are what let you jump straight to a moment of audio, and they are what make a transcript usable by an editor, a fact-checker or a video producer. If you export to captions, SRT and VTT files carry the timing with them.
Write a header: interviewee name, role, organization, date, location, interviewer, and recording consent status. It takes a minute and it answers most of the questions an editor would otherwise have to ask you.
Decide which format you are delivering. A verbatim transcript keeps every word, filler and repetition, with timestamps, and is what legal, academic and some newsroom records require. A clean-read transcript removes filler and false starts and reads more like prose. Never hand over a clean-read document when someone asked for verbatim, because the difference matters to anyone checking accuracy.
Export in a format your recipient opens: plain text or Word for editors, SRT or VTT for video, structured formats for research pipelines. Then apply your retention rules, since a recording of a vulnerable source is a liability sitting on a laptop.
Common Mistakes That Cost You Hours
- Recording in a bad room. Background noise and echo cause more errors than accents do. Change the room, not the tool.
- Skipping the context note. If you cannot say who, when and what, the file becomes useless the moment you need it.
- Publishing from raw output. An unchecked auto-transcript has already mangled at least one name and one number. Verify first.
- Over-editing the speaker’s voice. Polished sentences in quotes are corrections that alter meaning.
- Leaving speakers unlabeled. Generic labels cost you time at every later reference.
- Ignoring consent and privacy. Recording rules differ by jurisdiction, and some require everyone present to agree. Note consent on tape, follow your outlet’s policy, and delete source audio when the story is done.
- Verifying everything to the same depth. Spend review time on quoted words, numbers and names, not on comfortable middle paragraphs.
Frequently Asked Questions
Can ChatGPT transcribe an interview?
Yes, by accepting an uploaded audio file against its supported speech models, but the constraints matter more than the yes. Long files, crosstalk and more than two speakers degrade the output, and non-English audio needs the language set correctly. The result is a draft, not a publication-ready transcript. Treat any chat assistant output the way you would treat an unchecked auto-transcript and verify every name and number against the audio.
Can you use AI to transcribe interviews?
Yes, and most reporters now do. There are four routes: manual typing, an AI draft only, an AI draft you edit yourself, and outsourcing to a freelancer or agency. AI drafts arrive in a fraction of the audio length, which is why they save so much time. The catch is proper nouns, numbers and jargon, which is why the human edit pass is not optional when words will be quoted.
How long does it take to transcribe 50 minutes?
Typing it by hand takes about two and a half hours at a realistic pace. An AI draft of the same 50 minutes appears in roughly four to ten minutes, but an unchecked draft is not usable copy. Editing that draft into a verified, publishable transcript takes about an hour. A freelancer or agency will usually quote a 24 to 48 hour turnaround.
What is the best software for transcribing interviews?
There is no single winner, because the right answer depends on how many speakers, which language, what budget and how much accuracy you need. Judge any service on speaker diarization, timestamps, custom vocabulary, export formats and language support. For everyday reporting with quoted material, an AI draft plus your own edit pass is the best balance of speed and accuracy.
Can transcription software handle two speakers?
Mostly. Modern tools separate two speakers reliably when each has their own microphone or headset and takes turns speaking. Overlapping speech, one shared room microphone and heavy crosstalk are where diarization falls apart. Introduce each person by name at the start of the recording so the labels resolve correctly, and rename Speaker 1 and Speaker 2 in the finished document.
Do I need permission to record an interview?
It depends where you are. Some jurisdictions require the agreement of everyone taking part before recording, others need only notice, and a few allow recording with no requirement at all. Consent rules for publishing the material can be stricter than the rules for recording it. Say plainly at the start that you are recording, get agreement out loud, and note the agreement in your transcript header.
Conclusion
The fastest dependable workflow is simple: prepare the recording carefully, capture named voices with clear context, run an automatic first pass with diarization and timestamps on, edit for meaning, and verify names, numbers and every word you plan to quote. A 50-minute interview lands at about an hour of work this way instead of half a day.
Start with three things. Fix your recording setup, because clean audio removes more errors than any software setting. Pick one speech-to-text service and learn its diarization and export options properly. Then write down your verification checklist, so the words that end up in print have been checked against the audio by you, not by a model.